
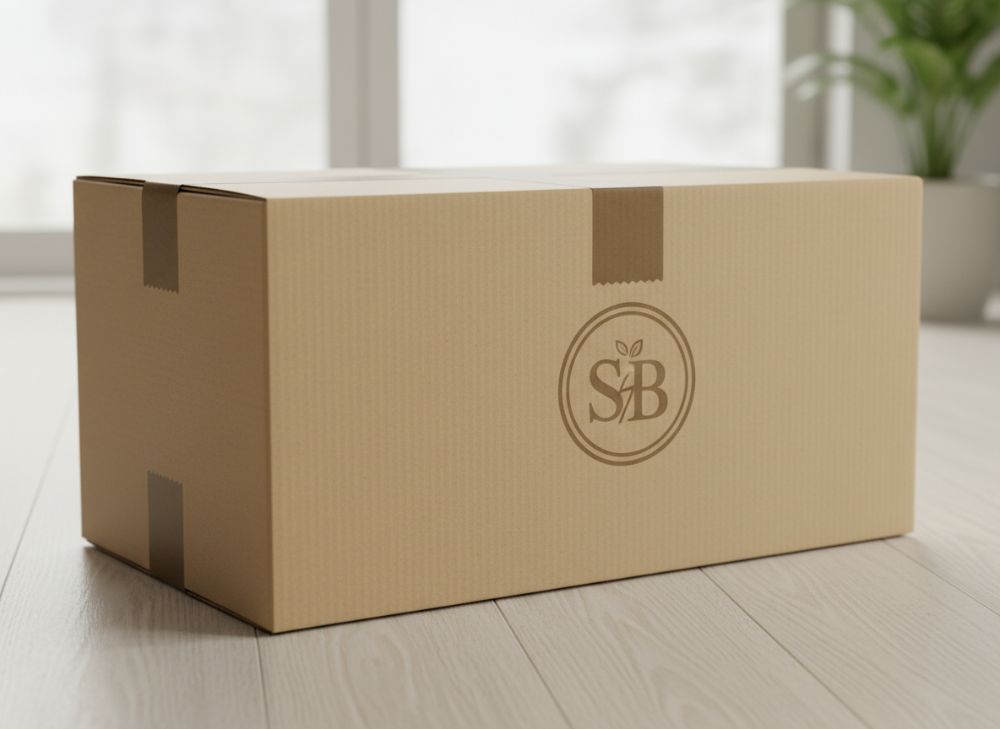
Subscription box success depends on making the delivery feel considered without making it difficult or expensive to pack, send and repeat. The essential custom packaging formula is simple: protect the product first, reveal it in a logical order, make the brand recognisable at each touchpoint, and keep every component proportionate to the product’s value and shipping needs.
For UK brands, this means specifying packaging as a system rather than treating the mailing box, product carton, seal and printed inserts as unrelated items. A well-planned system improves presentation, reduces avoidable movement in transit and gives customers a reason to engage with the next delivery.
The Role of the Outer Shipping Box
The outer shipping box is the practical foundation of a subscription. Its job is to contain the complete order, tolerate normal handling and create an appropriately tidy first impression. It does not need to carry every brand message; in many cases, a restrained exterior protects the sense of discovery reserved for the inside.
Start by sizing the box around the packed product arrangement, not the product dimensions alone. Allow for the inner carton, protective material, inserts and reasonable packing tolerance. A box that is too large requires more void fill and can allow items to move. One that is too tight can be difficult to pack consistently and may put pressure on product packaging.
When choosing an outer box, assess these practical points:
- Product weight and distribution: Heavier items need a pack format that supports the load without concentrating pressure on a single point.
- Sensitivity to crushing or impact: Fragile, glass, food, cosmetic or premium items may require internal separation or additional protection.
- Packing workflow: Consider whether one person can assemble, fill and close the box reliably at the intended volume.
- Opening method: A clean opening experience is valuable, but the closure must remain appropriate for transit.
- Return or reuse potential: If reuse matters to your brand, consider whether the structure can be opened without being immediately destroyed.
- Print placement: Keep key graphics clear of folds, seams, labels and areas likely to be scuffed during handling.
Plain transit packaging can work well when a branded inner layer creates the reveal. Alternatively, a lightly printed outer box may help recurring customers recognise the parcel before opening it. The right choice depends on how much of the brand experience you want to place on the doorstep versus inside the box.
For a project with several formats or changing product sizes, explore custom packaging boxes with the complete packing sequence in mind. Ask for the dimensions to be confirmed as internal or external measurements, and check how board thickness, inserts and closure style affect usable space.
Common outer-box mistakes
A frequent mistake is selecting a visually impressive box before confirming the packed weight and internal layout. Other problems include placing delicate products loosely beside heavier items, relying on decorative tissue as the only protection, and leaving no tolerance for real-world packing variation.
It is also worth checking whether applied labels, tape and shipping documentation will cover important graphics. Treat the printable face of a shipping box and the visible face after dispatch as two different things.
Designing the Inner Paper Box for Visuals
The inner paper box is where subscription packaging can shift from functional delivery to a branded experience. It frames the product, creates an orderly reveal and gives photography-friendly structure to the contents. Unlike the outer carton, it is usually handled after the parcel has reached its destination, so visual detail can take a more prominent role.
A useful starting point is the unboxing sequence. Decide what the recipient sees first, what they remove next and where the product sits at the moment of reveal. This helps determine whether you need a lift-off lid, folding carton, sleeve, tray, tissue wrap or a simple printed card layer.
Design the inner box around three priorities:
- Product fit: The product should sit securely without being hard to remove. Include allowances for labels, lids, unusual shapes and any protective wrap.
- Visual hierarchy: The logo, colour and message should guide the eye without competing with the product. Choose one focal element rather than filling every panel with information.
- Repeatable assembly: Complex folds, multiple loose pieces and delicate surface finishes can add avoidable handling steps. Confirm what your packing team can manage consistently.
Colour and finish should be selected in relation to the product category. A bold interior can make a small product feel more celebratory, while a neutral palette may suit a considered, minimal presentation. However, printed colour and material appearance can vary across substrates and production runs. Request physical samples or proofs where colour accuracy, texture or a premium finish is central to the decision.
If the box contains cosmetics, food, candles, supplements or any item with mandatory labelling requirements, do not assume the inner packaging alone satisfies them. Check the applicable UK product, safety, ingredient, disposal and labelling requirements for your category before finalising artwork. Make sure legally required information remains visible and is not obscured by inserts, sleeves or stickers.
When an inner carton is worth adding
An inner carton is most useful when it does at least one of the following:
- protects a product that needs more than void fill;
- separates a premium item from the transit box;
- groups several small products into one neat unit;
- creates a gift-ready presentation;
- provides space for instructions, product information or a campaign message.
If it only duplicates the role of the shipping box without improving protection, usability or presentation, it may add unnecessary material, cost and packing time. A well-printed insert or carefully arranged tissue may be a more suitable solution for lightweight, low-risk goods.
Custom Stickers for Sealing and Branding
Custom stickers are a flexible way to connect the practical and visual parts of a subscription pack. They can close tissue, secure a sleeve, identify a variant, add a short campaign message or reinforce a logo without requiring a fully printed component for every update.
For recurring subscriptions, stickers work particularly well for variable content. A core box design can remain consistent while the sticker changes by month, product scent, flavour, edition, subscription tier or promotion. This can reduce the need to redesign every printed packaging element for a short-lived campaign.
Choose the sticker specification according to where and how it will be used:
| Use | Useful specification questions | Main risk to check |
|---|---|---|
| Tissue or paper seal | Does it adhere cleanly to the chosen paper surface? | Tearing the tissue or lifting too easily |
| Outer parcel identifier | Will the print remain legible after handling? | Scuffing, poor adhesion or obscured artwork |
| Product or variant label | Is there enough room for required product information? | Tiny type and unclear variant identification |
| Promotional seal | Can the design be updated without changing other packaging? | Confusing campaign messaging with essential information |
Adhesion depends on the label material, adhesive, surface finish, temperature and handling conditions. Test stickers on the actual box, tissue or bag before committing to a full run, especially where surfaces are textured, coated, curved or exposed to moisture.
Custom printed stickers can be useful for short-run changes and layered branding, but they should not become a workaround for missing essential information. If a sticker carries important instructions or product details, confirm that it will remain attached and readable throughout the expected journey.
Incorporating Vouchers and Info Cards
A voucher or information card turns a parcel into a conversation rather than a one-way delivery. It can explain how to use a product, introduce a monthly theme, direct the customer to support material or offer a relevant future incentive. The key is to make the card genuinely useful, not merely another piece of printed clutter.
Match the card’s role to the subscription stage:
- First delivery: Welcome message, how the subscription works, product-use guidance and support details.
- Regular monthly delivery: Theme explanation, product story, care instructions or a concise prompt for feedback.
- Seasonal campaign: A time-limited message, gift suggestion or themed product guidance.
- Retention moment: A clear voucher or referral prompt that has understandable conditions.
Keep voucher wording precise. State what is offered, when it can be used, whether there is a minimum spend, whether exclusions apply and how a customer redeems it. Terms should be easy to find and readable at normal print size. Before issuing an offer, verify that its wording and administration are appropriate for your business and target market.
Information cards are also a practical place for QR codes, but never make a QR code the only route to essential product instructions. Test the code from a printed proof, at a realistic size and under normal lighting. Provide a plain-language URL or alternative instruction where needed.
Avoid inserting every possible message into each box. A crowded stack of cards can distract from the product and creates more material for customers to discard. One useful card with a clear purpose is often stronger than several generic ones.
Weight and Shipping Cost Optimisation
Packaging weight and volume affect handling, storage and shipping charges, but optimisation should not mean stripping protection from the pack. The aim is to use the least complex packaging system that still suits the product and delivery journey.
Begin with a complete packed sample, including every component: product, container, lid, inner box, fill, leaflet, sticker, outer box and closure. Record the dimensions and weight of the final parcel rather than estimating from individual components. Repeat this for different subscription variations if the contents change from month to month.
Focus on four areas:
Right-size the pack
A closer-fitting outer box can reduce empty space, but it needs enough clearance for packing and protection. Consider whether one standard box can safely hold all likely monthly configurations, or whether two sizes would avoid excessive void fill.
Reduce duplicate layers
Review the purpose of every layer. For example, an inner carton and an outer box may both be justified for a fragile gift product, but not necessarily for a robust item already supplied in a protective retail pack. Remove components only after checking that protection, presentation and required information are still adequate.
Choose protection to match the risk
Not all products need the same kind of protection. A rigid item may need restraint to stop rattling; a breakable item may need cushioning and separation; a moisture-sensitive item may need an appropriate barrier. Test the full configuration using representative packed samples and conditions relevant to your operation. Do not rely on a single drop or squeeze test as proof that a pack will perform in all circumstances.
Consider storage and fulfilment
A packaging format that stores flat and assembles simply may be preferable for regular dispatches. On the other hand, a pre-formed rigid box may be appropriate for a premium offer where presentation is the priority. Compare the storage footprint, assembly time, component count and likelihood of packing errors before choosing.
Shipping pricing structures and service conditions vary by provider and can change. Confirm the current dimensional and weight rules that apply to your chosen services rather than designing around assumptions.
Enhancing Value with Branded Inserts
Branded inserts add value when they improve product protection, organisation or perceived care. They can hold products in place, separate complementary items, create a reveal and make a multi-item box easier to understand at a glance.
Paperboard dividers, folded cards, trays and shaped inserts each offer different benefits. A simple divider may stop products knocking together, while a printed top card can conceal the contents until opening. A shaped insert can look refined, but it may require more precise product dimensions and can be less forgiving when products vary slightly.
Before selecting an insert, confirm:
- the exact product dimensions, including caps, labels and any wrap;
- whether the item must be held upright;
- whether customers need to remove products one-handed;
- whether the product size could change later;
- the effect of the insert on overall packed dimensions;
- whether the chosen material and finish suit the product’s contact requirements.
Avoid designing a highly specific insert before product dimensions, closures and labels are final. Small changes in a bottle shoulder, jar lid or retail carton can make a tight insert unusable. If your assortment changes frequently, a modular divider or flexible paper-based restraint may offer better long-term adaptability.
Keeping the Design Fresh for Repeat Customers
Repeat customers value recognition, but they can quickly stop noticing packaging that never changes. The answer is not necessarily a full redesign every month. Keep core brand elements stable, then introduce controlled variation around them.
A practical approach is to define fixed and flexible layers:
- Fixed: logo placement, core colour palette, box structure, standard product information and key typography.
- Flexible: sticker colour, inside message, themed card, tissue print, seasonal illustration or voucher.
- Occasional changes: limited-edition sleeve, special insert or gift packaging upgrade.
This system protects brand consistency while giving customers a reason to inspect each delivery. It also helps purchasing teams plan stock, as longer-running components can be ordered separately from monthly campaign materials.
Changes should not compromise recognition or usability. Do not move essential instructions into an unpredictable location, alter colour coding that customers rely on for variants, or introduce a different opening method without reviewing the fulfilment process. Create an artwork checklist covering version name, date, product variant, legal copy, barcode or identifier placement where relevant, and approval status.
For subscriptions with several audiences or tiers, use design variation carefully. Different colours or cards can help distinguish plans, but ensure every version still feels part of the same brand family.
Gift Packaging Aesthetics for Monthly Delivery
A subscription box often functions as a self-gift, but it may also be sent directly to someone else. Gift packaging aesthetics should therefore feel intentional without becoming impractical for recurring fulfilment.
The most effective gift-ready formats usually combine a neat structure, restrained branding and one thoughtful reveal detail. This could be a printed inner lid, a seasonal message card, a tissue seal or a carefully placed product arrangement. The objective is to make the recipient feel the contents were prepared for them, not simply dispatched.
Consider the following choices:
- Rigid versus folding formats: Rigid packaging can create a substantial gift feel, whereas folding cartons can be more space-efficient for storage and dispatch. Choose based on presentation needs and operational realities.
- Colour strategy: Use a permanent base palette with limited seasonal accents to avoid obsolete stock after a campaign ends.
- Personalisation: A blank space for a handwritten note or a variable printed message can make a gift feel more individual, but should fit the packing workflow.
- Recipient information: If the recipient may not be the purchaser, include clear product-use, care or support information inside the pack.
- Disposal considerations: Make it straightforward for customers to separate components where possible, and verify any environmental claims before putting them on packaging.
For higher-value editions, gift packaging options may help create a more ceremonial presentation. Compare the visual benefit against added dimensions, component count and the risk that premium materials are damaged before delivery.
A practical specification checklist
Before approving a subscription packaging project, document the answers to these questions:
- What is the largest, heaviest and most fragile likely monthly product combination?
- Which component provides transit protection, and which component provides the visual reveal?
- What must be printed for product information, customer support or promotional terms?
- Which parts are permanent, and which can change by month or campaign?
- Can the pack be assembled accurately at normal fulfilment volume?
- What are the final packed dimensions and weight for each expected box variation?
- Have stickers, inserts and closures been checked on the actual materials?
- Have artwork, colours and critical text been reviewed from a physical proof where necessary?
- Are claims about materials, recyclability or performance supported and appropriate for the target market?
- Is there a fallback plan if a monthly item is slightly larger or unavailable?
XGolden Print has 27 years of packaging and printing experience, with a 15,000 square metre factory and more than 500 employees. When comparing suppliers, use your own specification checklist: confirm materials, dimensions, print method, minimum order requirements, proofs, lead times and any product-specific suitability rather than assuming that one box format suits every subscription.
A strong next step is to map one complete monthly box from packing bench to customer opening, then list the job performed by every component. Use that list to brief a custom box project with clear dimensions, product samples and the level of brand variation you need across the year.
