
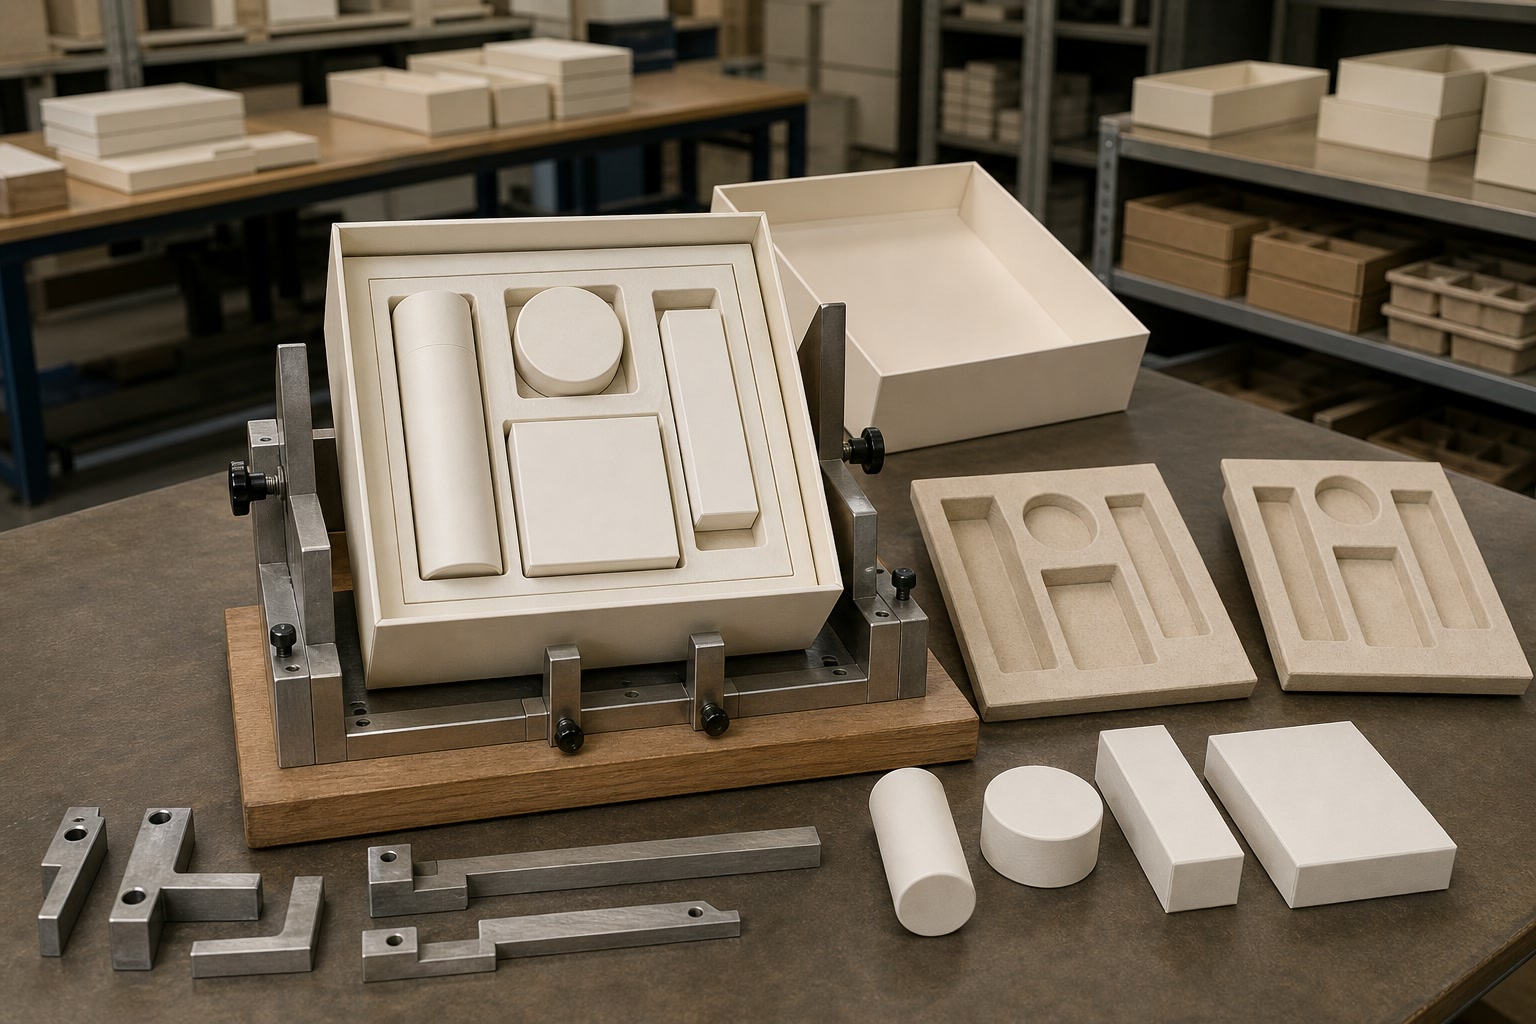
Successful multi item gift box insert planning starts before an insert material is selected. First define every item in the set, how the recipient should discover it, what needs protection, and how the packing team will load it. The insert must hold the correct components securely while making the finished box feel deliberate rather than crowded.
For a multi-product gift set, the best insert is rarely the one with the most compartments. It is the one that balances presentation, protection, straightforward assembly and easy removal. A carefully documented layout also helps prevent incorrect variants, missing accessories and avoidable rework during kitting.
List every component and variation
Create a complete component list before drawing a tray, divider or fitted insert. Include everything the customer receives, not only the main products. Small items often cause the greatest difficulties because they can move into adjacent compartments, become hidden beneath tissue, or be missed during manual packing.
Your list should cover:
- Primary products, including bottles, jars, cartons, garments or devices
- Accessories such as caps, cables, tools, samples, applicators and refills
- Printed items, including greetings cards, instruction leaflets and vouchers
- Protective elements such as sleeves, tissue paper, seals or dust covers
- Promotional extras, where they are genuinely part of the set
- Outer box, inner tray, lid and any wrap, ribbon or closure component
For each component, record its supplied dimensions, weight, surface finish, fragility and orientation requirements. For example, a glass jar may need to remain upright, while a folded textile item may tolerate a flatter compartment. A product with a metallic or soft-touch finish may need separation from other items to avoid scuffing during transit.
Account for SKU and seasonal differences
One insert design can work across a family of gift sets, but only if variation is planned early. List each SKU and identify which parts change:
| Set variation | Typical change | Insert planning implication |
|---|---|---|
| Product size | 30 ml and 50 ml bottles | Use separate inserts or a controlled adjustable feature |
| Product count | Three products instead of four | Avoid leaving an empty cavity unless it is deliberately covered |
| Accessory type | Different cable, pump or tool | Check that the smallest variation cannot move freely |
| Printed insert | Different language, campaign card or voucher | Allocate a consistent flat location or top layer |
| Seasonal presentation | Ribbon, ornament or limited-edition sleeve | Confirm it does not obstruct closure or product removal |
Do not assume a cavity that fits the largest version will suit all smaller versions. Excess space can permit movement, while filler material may make packing inconsistent. Conversely, an insert that grips one product closely may be impractical when a replacement SKU has a different shoulder shape, cap height or label seam.
A component matrix is useful at this stage. It should show which parts appear in each set and whether their position changes. This gives design, procurement and kitting teams one shared reference.
Define the non-negotiables
Agree the requirements that cannot be compromised. These often include:
- Products must remain upright.
- Glass or rigid containers must not touch one another.
- The brand mark must be visible on opening.
- A particular item must be removed first.
- The insert must accommodate a leaflet without bending it.
- The set must be assembled without specialist tools.
- The outer box must close without compression of the contents.
Separating essential requirements from preferences avoids a common problem: trying to make every item equally prominent, even when that creates a fragile, expensive or difficult-to-pack configuration.
Set the reveal sequence
The reveal sequence is the order in which someone sees and removes the contents after opening the box. It affects perceived value, gift-giving experience and practical access. Plan it as a physical journey, not simply as a top-view layout.
For many gift sets, a sensible sequence is:
- Outer branding and opening message
- Card, tissue or printed introduction
- Main hero product
- Supporting products and accessories
- Instructions, care information or a hidden message, where appropriate
This does not mean every set needs a layered unboxing experience. A shallow presentation box may work best when the whole collection is visible at once. The key is to decide whether the recipient should see the complete set immediately or uncover it in stages.
Choose a layout that supports the intended reveal
Common insert layouts include:
- Single-level grid: All items are visible when the lid opens. It works well for coordinated products of similar height, such as small cosmetics, teas or stationery.
- Hero product with supporting compartments: The main item occupies the central or dominant position, with smaller items grouped around it. This is useful when one product drives the perceived value of the set.
- Layered tray: A top tray holds lighter products or printed material, with larger items beneath. It can create a more considered reveal but adds assembly steps.
- Book-style or side-by-side format: Products sit in a panelled presentation, often with a message or brand story on the inside lid. Check hinge clearance and ensure the box remains balanced when opened.
- Nested accessory compartment: Small components sit in a separate covered compartment or envelope. This can reduce visual clutter, but it must be clearly signposted so the recipient does not overlook it.
Avoid treating reveal order as a purely aesthetic choice. A leaflet placed under a tightly fitted product may be impossible to retrieve cleanly. A small accessory displayed above a heavy item may fall out when the box is opened. If the pack is intended for retail display, consider how the layout appears when staff or customers lift the lid repeatedly.
For premium presentation formats, explore custom gift packaging options alongside the insert plan so that the box structure, opening style and internal layout are developed together.
Map product footprints and clearances
Once the component list and reveal order are confirmed, map the actual space each item occupies. Use physical samples wherever possible. Product drawings and stated dimensions are helpful, but they may not capture tapered bottles, rounded shoulders, protruding caps, flexible pouches or labels that alter the effective footprint.
Measure each product in its final packed state, including:
- Maximum width, depth and height
- Cap, pump, handle, cord or closure projection
- Label overlap, seam or decorative feature
- Protective sleeve or individual carton, if used
- Required upright orientation
- Safe lifting area for the recipient’s fingers
Start with the usable internal volume
Work from the inner dimensions of the finished box, not its external dimensions. From this usable space, allow for board thickness, tray walls, top clearance and any protective layer. Then map each cavity and the gaps between them.
Clearances should be purposeful. Too little clearance can cause rubbing, make removal awkward or create compression when the lid closes. Too much clearance can allow products to knock together in handling. The suitable amount depends on item material, weight, shape and the retention method.
Consider these areas separately:
- Side clearance: Space between a product and cavity wall
- Inter-product clearance: Separation between adjacent items
- Top clearance: Space between the tallest point and the closed lid
- Removal clearance: Space for fingers, a thumb notch, ribbon pull or lifting tab
- Tolerance allowance: Room for ordinary variation in supplied products, folding and assembly
A simple top-view drawing is valuable, but it is not enough. Make side and section views as well. These reveal whether tall and short items create an uneven top surface, whether a tray needs bridges or walls for support, and whether a leaflet will bow over raised products.
Check the centre of gravity
Heavy products create additional risks in a multi-item box. A glass bottle placed at one edge can make a narrow gift box feel unbalanced. A deep cavity may retain the bottle, but the box can still tip or put stress on the lid during handling.
Where practical, place the heaviest component near the centre or low in the construction. Keep fragile items away from exposed corners. If a set includes a heavy item and several light accessories, consider whether the accessories need independent retention rather than simply sharing open space around the main product.
Choose insert materials and retention
Material choice should follow the product, presentation requirement, production volume and intended handling conditions. There is no universally best insert material: a visually refined solution may be unsuitable for a heavy bottle, while a highly protective construction may be excessive for lightweight retail items.
| Insert type | Best suited to | Strengths | Points to check |
|---|---|---|---|
| Folded card insert | Lightweight to medium-weight products | Printed, recyclable-oriented presentation options, efficient flat packing | May need reinforcement for heavy or round products |
| Corrugated divider or fitment | Heavier or more transit-sensitive products | Good structural support and separation | Can appear more functional than premium unless carefully finished |
| Pulp moulded insert | Products with organic shapes or a protective requirement | Contoured retention and cushioning potential | Surface texture, colour options and tooling requirements vary |
| Foam insert | Delicate, high-value or precisely shaped items | Close fit and strong cushioning | Material choice, appearance and end-of-life considerations need review |
| Rigid board tray | Premium gift sets and layered layouts | Clean presentation and sturdy compartment walls | More components and assembly can increase complexity |
| Paper-based wrap or tissue retention | Low-risk items needing gentle restraint | Flexible, tactile and adaptable | Not a substitute for fitted protection where movement is likely |
Retention is the method used to stop an item shifting, not simply the material around it. A cavity can retain a product by close fit, friction, a folded bridge, a collar, a paper tab, a ribbon pull, an overlay card or a separate compartment.
Match retention to the item
Use the least complicated retention method that reliably controls movement and supports easy removal.
- Close-fit cavities suit consistent, rigid products but require accurate product dimensions.
- Thumb notches make cylindrical or tightly held products easier to remove. Ensure the notch does not expose too much of the product or weaken the tray wall.
- Ribbon pulls can lift products from deep cavities, particularly bottles, jars and small cartons. Check that they do not snag on closures or interfere with the reveal.
- Paper bridges and tabs can restrain lightweight items such as tubes or tools. Test repeated opening and removal so tabs do not tear prematurely.
- Lidded or enclosed compartments help protect tiny accessories, but need clear labelling or visual cues.
- Overlays can hold several items in place while creating a clean opening view. Make sure the customer understands how to remove the overlay without damaging it.
Avoid relying on tissue paper to secure a breakable or heavy product. Tissue can improve presentation and reduce light surface contact, but it should not be the primary retention system for items that may move in transit.
Trial kitting and removal
A layout that looks correct on screen can fail during assembly. Trial kitting is where the design is tested as an operational system: can people pick, place, check and close the set consistently?
Use representative samples of the actual products, including final caps, labels, sleeves and printed components. Where possible, test the intended outer box and insert together rather than reviewing the insert on its own.
Run a practical kitting trial
Ask the trial packer to follow a simple pack-out sequence without relying on memory. Observe and record:
- Which item is picked first
- Whether it has an obvious orientation
- Whether the cavity is easy to identify
- Whether an item catches, rocks or needs force to insert
- Whether accessories can be missed or placed in the wrong compartment
- Whether the lid closes cleanly every time
- Whether the finished set looks consistent from one pack-out to the next
Then test removal from the recipient’s perspective. The contents should not be so loose that they rattle, but they should not require excessive pulling, tipping or fingernail pressure to remove.
Try removal in the planned reveal sequence. This is especially important for sets containing small bottles, flexible sachets, cards or cable accessories. A component may be easy to insert during kitting but awkward for the recipient to lift out.
Test realistic handling, not just shelf presentation
At a minimum, inspect the finished pack after ordinary handling, stacking and opening. Look for:
- Products touching or scuffing one another
- Components escaping their cavities
- Insert walls bending or collapsing
- Lids sitting proud because of insufficient top clearance
- Cards creasing over uneven items
- Ribbons, tabs or leaflets becoming trapped
- Small parts migrating beneath other components
- Inconsistent visual alignment across packed sets
For fragile, heavy, liquid-filled or unusually shaped contents, determine the level of protection required for the relevant distribution route before finalising the construction. The outer shipping packaging and the presentation insert have different jobs; one should not be expected to solve every handling risk alone.
Document set configuration and pack-out
The final stage of multi item gift box insert planning is documentation. A successful prototype can still produce inconsistent results if its configuration exists only in a sample box or one person’s knowledge.
Create a pack-out specification that connects the product list, insert drawing and assembly process. It should be clear enough for a new team member to follow and specific enough to support purchasing, quality checks and future reorder decisions.
Include:
- Set name, SKU and version number
- Outer box and insert identifiers
- Full component list with quantities
- Approved product orientations
- A numbered packing sequence
- Annotated photographs or diagrams of the finished layout
- Position of cards, tissue, seals and accessories
- Closure method and final presentation standard
- Any permitted substitutions and items that must not be substituted
- A check for missing components before closure
- Storage or handling notes where relevant
Control revisions carefully
Gift sets often change over time: a product size is updated, a leaflet is revised, a new seasonal accessory is added, or a supplier changes a cap style. Treat these changes as configuration revisions, not informal swaps.
Before approving a revision, check:
- Does the new item still fit the assigned cavity?
- Does it alter the box’s balance or lid clearance?
- Is the packing sequence still practical?
- Do printed instructions and imagery still match the contents?
- Does the set retain the intended reveal order?
- Are old and new components distinguishable during kitting?
A clear version-control process is particularly important where several similar gift sets are packed at the same time. It reduces the chance of mixed components and makes future redesigns easier to manage.
Common planning mistakes to avoid
The most frequent problems are usually avoidable with earlier physical testing.
- Designing around product dimensions supplied before final samples are available
- Forgetting caps, pumps, sleeves, labels and other projections
- Giving every product an equal compartment rather than prioritising the hero item
- Making cavities tight enough to hold products but too tight to remove
- Using a single layout for variants that differ materially in size or weight
- Hiding small accessories without an obvious cue for the recipient
- Adding decorative layers that slow kitting without improving protection or presentation
- Treating the presentation insert as the only protective packaging needed
- Failing to document final orientation and assembly order
- Approving an attractive prototype without trial packing multiple complete sets
A practical checklist before approving the insert
Before moving to production, confirm that:
- Every component, including printed extras, has an allocated position.
- Each SKU variation has been reviewed against the layout.
- The reveal sequence is intentional and easy to follow.
- Products have suitable side, top and removal clearance.
- Fragile and heavy items are separated and retained appropriately.
- The selected material supports the product weight and expected handling.
- The insert and outer box close together without crushing contents.
- A representative kitting trial has been completed.
- Products can be removed without damage or frustration.
- Pack-out instructions show the final approved configuration.
- Revision ownership is clear if products or promotional items change.
A well-planned insert turns a collection of separate products into one coherent gift. Start with the component matrix and physical product samples, then test the proposed layout with the people who will pack and open it. If you are specifying a bespoke set, XGolden Print can use an agreed product map and pack-out brief as a practical starting point for developing the box and insert structure.
