
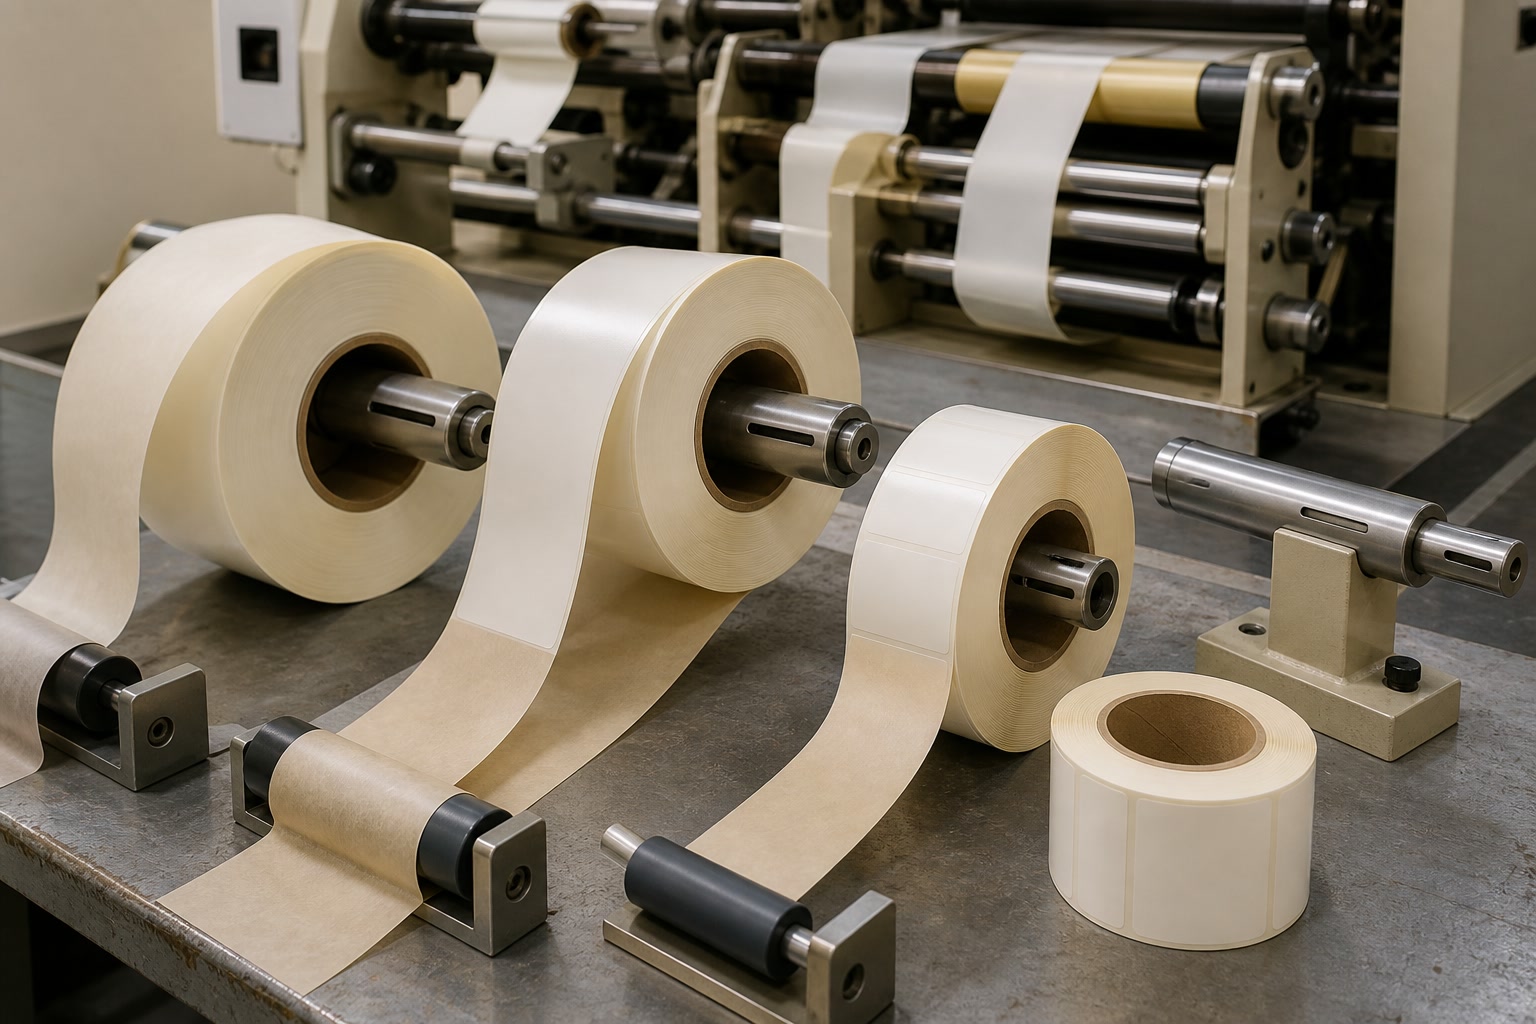
The correct label roll unwind direction is the direction in which labels peel from the backing paper as the roll turns. It must match the path through your dispenser or applicator, not simply whether the printed design looks upright on the roll.
For a workable roll-label specification, confirm five things before ordering: whether labels are applied by hand or machine, the required unwind direction, core diameter and maximum roll diameter, label gap and print orientation, and any limits on splices, roll quantities and carton packing. A labelled drawing or a sample roll is often more reliable than an unwind-direction number alone.
Confirm hand or machine application
Start with the way the labels will be dispensed and applied. This determines which details are essential and how tightly they need to be controlled.
Hand-applied labels
For hand application, the main aim is convenient handling. Consider:
- Roll size: A roll that is too large can be awkward to hold, store or use at a packing bench.
- Peel direction: Decide whether the operator should pull labels from the top, underside, left or right of the roll.
- Label orientation: The design should be upright when the label is removed and applied in the normal working motion.
- Backing paper overhang: A slightly wider liner can make it easier to lift a label corner, although the suitable construction depends on the label format.
- Number of labels per roll: Smaller rolls may suit occasional use or multiple product variants; larger rolls can reduce changeovers for frequent packing.
Hand application is more forgiving than machine application, but an unsuitable unwind can still slow people down or lead to labels being applied upside down.
Machine-applied labels
For a label applicator, desktop printer, print-and-apply unit or automated line, the roll is part of the machine set-up. The machine may have strict requirements for:
- Roll unwind direction
- Core inside diameter
- Maximum outer roll diameter
- Label pitch, including the gap between labels
- Label position across the liner web
- Label-leading edge
- Liner material and thickness
- Maximum permitted splice count
- Sensor marks, if used by the equipment
Ask the equipment manufacturer, integrator or line operator for the roll-label specification sheet. If it provides an unwind diagram, follow that diagram rather than assuming that terms such as “outside wound” or “direction 1” mean the same thing across all suppliers.
A machine may physically accept a roll that is wound the wrong way, but it may then feed labels backwards, present the design in the wrong orientation, or fail to dispense cleanly.
Identify unwind direction
Label roll unwind direction describes how the roll rotates and which side of the web the labels dispense from. It is often called rewind direction, winding direction or roll direction.
The critical question is: when the roll is fitted to the machine, does the label leave the roll in the correct direction and with the correct edge leading?
Do not rely on direction numbers alone
Some suppliers use numbered unwind diagrams, while others describe rolls as “face out”, “face in”, “top unwind” or “bottom unwind”. These terms are helpful only if everyone uses the same viewing position and reference point.
For example, “clockwise unwind” is incomplete unless you state whether the observer is looking at the left or right end of the roll. A clockwise roll viewed from one side appears anticlockwise from the other.
A robust specification includes:
- A simple roll sketch showing the labels and liner.
- The direction the web travels towards the applicator.
- The label face — facing outwards or inwards on the wound roll.
- The leading edge of the label.
- The design orientation as it appears at the point of application.
- The viewing side if a clockwise or anticlockwise instruction is used.
A practical way to determine the correct direction
If a current roll works correctly, use it as the reference:
- Place the roll on the machine spindle or hold it in the same orientation as installed.
- Trace the liner path from the roll to the peel plate or dispensing point.
- Note whether labels leave from the top, bottom, front or rear of the roll.
- Check which label edge reaches the peel point first.
- Photograph both the mounted roll and the label at the point of dispense.
- Mark the roll with an arrow showing web travel.
If no current roll exists, use the equipment manual or ask the machine supplier for its required unwind diagram. A short run using a sample roll can be worthwhile before committing to a large production quantity.
Face out versus face in
“Face out” means the printed label face is on the outside of the wound roll. “Face in” means the printed face is towards the core. Neither is automatically right or wrong.
The correct choice depends on the machine’s web path and peel plate. In some applications, a face-out roll may be needed for labels to travel over the top of the roll; in others, face-in may be needed for the web to feed from underneath.
For hand-applied labels, face-out rolls are often convenient because the printed design is visible on the outside. However, visibility is secondary to the direction in which the label needs to peel.
Specify core size and maximum roll diameter
The core size is the internal diameter of the cardboard or plastic centre tube. The maximum roll diameter is the permitted outside diameter of the fully wound roll.
Both measurements matter. A roll with the right labels but the wrong core may not fit the spindle. A roll with a suitable core but excessive outside diameter may not fit inside the machine or may cause feeding problems.
State dimensions in millimetres
In UK purchasing specifications, give core size and maximum roll diameter in millimetres. You may also include inch equivalents where the machine manual uses them, but make millimetres the controlling measurement.
Common examples include:
| Requirement | What it controls | Example wording |
|---|---|---|
| Core inside diameter | Whether the roll fits the spindle | “76 mm internal core” |
| Maximum outside diameter | Whether the roll fits the holder or enclosure | “Maximum 200 mm roll OD” |
| Roll width | Whether the web runs through guides | “50 mm overall liner width” |
| Labels per roll | Changeover frequency and order breakdown | “1,000 labels per roll, subject to maximum OD” |
Core diameters such as 25 mm, 38 mm, 40 mm, 44 mm and 76 mm are seen in different dispensing and printing applications, but there is no single standard for every machine. A 76 mm core is common on many industrial systems, while smaller cores can be used with compact dispensers and desktop equipment. Always confirm the spindle specification rather than selecting a core by habit.
Why labels per roll can vary
Labels per roll are linked to the core, maximum roll diameter, liner thickness, label material, adhesive construction, label length and winding tension. Therefore, a request for an exact labels-per-roll figure may conflict with a strict maximum outside diameter.
For example, a thick textured paper label and a thin film label of identical face dimensions will not necessarily produce the same roll diameter at 1,000 labels. If machine clearance is non-negotiable, specify the maximum roll OD first, then agree an appropriate labels-per-roll quantity.
Core and roll-diameter checks
Before approving a specification, confirm:
- The core is measured as internal diameter, not outer diameter.
- The maximum roll diameter includes the wound labels and liner.
- The machine has enough clearance for roll removal as well as operation.
- The roll holder supports the specified width and weight.
- The machine can handle the expected roll weight.
- Any printer, dispenser or applicator has no separate restriction on roll width or backing paper thickness.
Do not assume a roll will fit simply because another roll has a similar diameter. The core, web width and label construction can all affect compatibility.
Set label gap and orientation
The label gap is the space between individual labels on the liner. It allows the machine to detect each label and dispense it at the intended point. The label orientation determines how the artwork sits relative to the web travel direction.
Define pitch, not just the gap
For equipment set-up, it helps to state both:
- Label length in the machine direction
- Gap between labels
- Pitch, meaning label length plus gap
For instance, if a label measures 80 mm in the direction of travel and has a 3 mm gap, the pitch is 83 mm. This gives the operator and printer a clearer basis for sensor and registration settings.
The suitable gap depends on the label shape, material, die-cutting method and equipment. A very narrow gap can make sensor detection more difficult on some systems, while an unnecessarily wide gap increases liner waste. Follow the machine manufacturer’s minimum and maximum guidance where available.
Specify the leading edge
The leading edge is the edge that reaches the peel plate first. It matters especially for:
- Labels applied around containers
- Labels with a directional graphic or reading order
- Tamper-evident or wrap-around formats
- Labels applied to a fixed product position
- Shapes with a pointed, angled or irregular edge
A product label can be printed upright yet still be unsuitable if it approaches the applicator sideways or bottom-first.
Include a statement such as:
Labels dispense short edge first, with the top of the artwork leading.
Or:
Labels dispense long edge first, with the barcode leading.
The wording must match the actual product and machine path. A visual proof with an arrow marked “web travel” is clearer still.
Consider the label sensor
Many machines detect the gap through the liner using an optical sensor. Transparent labels, clear liners, metallic materials, dark backings or unusual constructions can need a different sensing approach or a registration mark. The appropriate arrangement depends on the particular machine and material, so this should be checked with the equipment supplier before production.
For labels carrying barcodes, QR codes, variable data or regulated product information, review the final orientation with the person responsible for scanning, packing and applying the label. A technically feedable roll may still create awkward scanning or presentation on the finished pack.
Check splice roll count and carton needs
A splice is a join in the label web, usually created when separate material lengths are connected during production. Splices are often manageable, but they should be specified rather than discovered during application.
Set an acceptable splice policy
Your requirement may be:
- No splices accepted
- A maximum number of splices per roll
- Splices permitted only if clearly marked
- Spliced rolls segregated from unspliced rolls
- No splice within a stated distance of the start or end of a roll
Whether a splice is acceptable depends on the application. High-speed automated labelling, critical product identification and unattended production runs may need tighter controls than manually applied promotional labels.
If your applicator cannot run a splice through its feed path, do not rely on the operator noticing it in time. State the restriction on the purchase order and ask how splice locations will be identified.
Decide the roll count that suits operations
The largest possible roll is not always the best choice. Larger rolls reduce changeovers, but they can be heavier, take more storage space and exceed the dispenser’s capacity. Smaller rolls are easier to handle and may make product-version changes simpler.
Choose labels per roll by balancing:
- Machine maximum roll OD
- Core size
- Operator handling
- Expected production run length
- Changeover time
- Number of product variants
- Storage space
- The need to keep batches or artwork versions separate
For e-commerce packing benches, a modest roll count may be easier to manage. For a dedicated production line, longer runs may reduce interruption, provided the equipment supports the roll dimensions.
Specify carton packing
Carton requirements protect rolls in storage and make goods-in checks easier. Confirm:
- Rolls per carton
- Whether cartons must contain one artwork or batch only
- Whether rolls should be individually wrapped or separated
- Carton labelling requirements
- Maximum carton weight for safe handling
- Whether rolls must be packed upright or on their side
If labels will be stored for a period, avoid placing heavy items on top of roll cartons. Flattened roll edges, crushed cores or distorted labels can affect dispensing even where the print itself is undamaged.
Validate the final roll specification
Before placing a full order, consolidate every requirement into one short, unambiguous specification. This reduces the risk of receiving otherwise well-made labels that do not run correctly.
Use the following checklist.
Roll-label specification checklist
- Label size: width × height in mm
- Shape: square, rectangle, circle, oval or custom die-cut
- Material and finish: state the intended construction and surface finish
- Adhesive: suited to the product surface and application conditions
- Liner width: overall backing-paper width
- Labels across: one-across or multiple-across web layout
- Label gap: gap in mm
- Pitch: label length plus gap in the direction of travel
- Artwork orientation: identify the top of the design
- Leading edge: state which edge dispenses first
- Unwind direction: include a diagram, web-travel arrow and viewing convention
- Winding: face out or face in
- Core size: internal diameter in mm
- Maximum roll OD: outside diameter in mm
- Labels per roll: with any permitted tolerance or OD limit stated
- Splices: permitted quantity and marking requirement
- Start and finish: any requirement for leader, trailer or label position
- Carton packing: rolls per carton and handling requirements
- Approval method: artwork proof, sample roll or machine trial where needed
Test under real conditions where possible
A roll may feed correctly in a short hand test but behave differently in a production run. If the labels are for automated application, test a sample on the actual machine using the intended settings, product container and line speed.
Check for:
- Smooth liner feed
- Reliable gap detection
- Consistent label dispensing
- Correct label position on the product
- No unwanted flagging, creasing or edge lift
- Correct barcode or QR-code orientation after application
- Adequate clearance for a full roll
A sample test does not remove the need for a clear specification, but it can reveal conflicts between label design, material choice and equipment settings before larger quantities are made.
Common label roll specification mistakes
The most frequent problems are avoidable:
- Ordering “face out” without showing the web path. Face orientation alone does not define the dispense direction.
- Using an unwind-direction code from a different supplier. Numbering systems are not universally identical.
- Giving a core size but no maximum roll diameter. The roll may fit the spindle but not the machine housing.
- Specifying labels per roll without checking material thickness. The requested quantity may exceed the permissible roll diameter.
- Leaving out label orientation. A roll can dispense correctly while the artwork reaches the product sideways or upside down.
- Ignoring the leading edge for shaped labels. Directional shapes and wrap labels can apply poorly when presented incorrectly.
- Treating splices as irrelevant. A join can interrupt an unattended applicator or create a missed label.
- Approving from a flat artwork proof only. A flat proof cannot confirm how the roll feeds through equipment.
FAQ
What is the best label roll unwind direction?
There is no universally best unwind direction. The right direction is the one that follows your dispenser or applicator’s web path and presents the label in the correct orientation at the peel point. Use the equipment manual, an existing working roll or a machine trial to confirm it.
What core size do roll labels use?
Roll-label core sizes vary by equipment. Smaller desktop and manual dispensers may use compact cores, while many industrial systems use larger cores such as 76 mm. Confirm the machine’s required internal core diameter before ordering.
Is roll diameter more important than labels per roll?
For machine compatibility, maximum roll diameter is usually the controlling limit because the roll must physically fit and rotate within the equipment. Labels per roll should then be set within that limit, taking label and liner thickness into account.
Can I use a roll wound in the wrong direction?
Sometimes the roll may still fit the spindle, but it may not travel through the feed path correctly or may dispense the label with the wrong edge leading. Rewinding may be possible in some circumstances, but it adds an unnecessary step and should not be assumed as a solution.
Should hand-applied labels have a specified unwind direction?
Yes, particularly where the operator uses a dispenser or applies labels repeatedly at a packing station. A specified unwind direction helps ensure the label peels naturally and the design is upright at the point of application.
When comparing custom printed stickers or roll-label options, prepare the checklist above alongside a photo of the equipment’s roll path. It gives suppliers the practical information needed to quote and produce labels that suit your application.
