
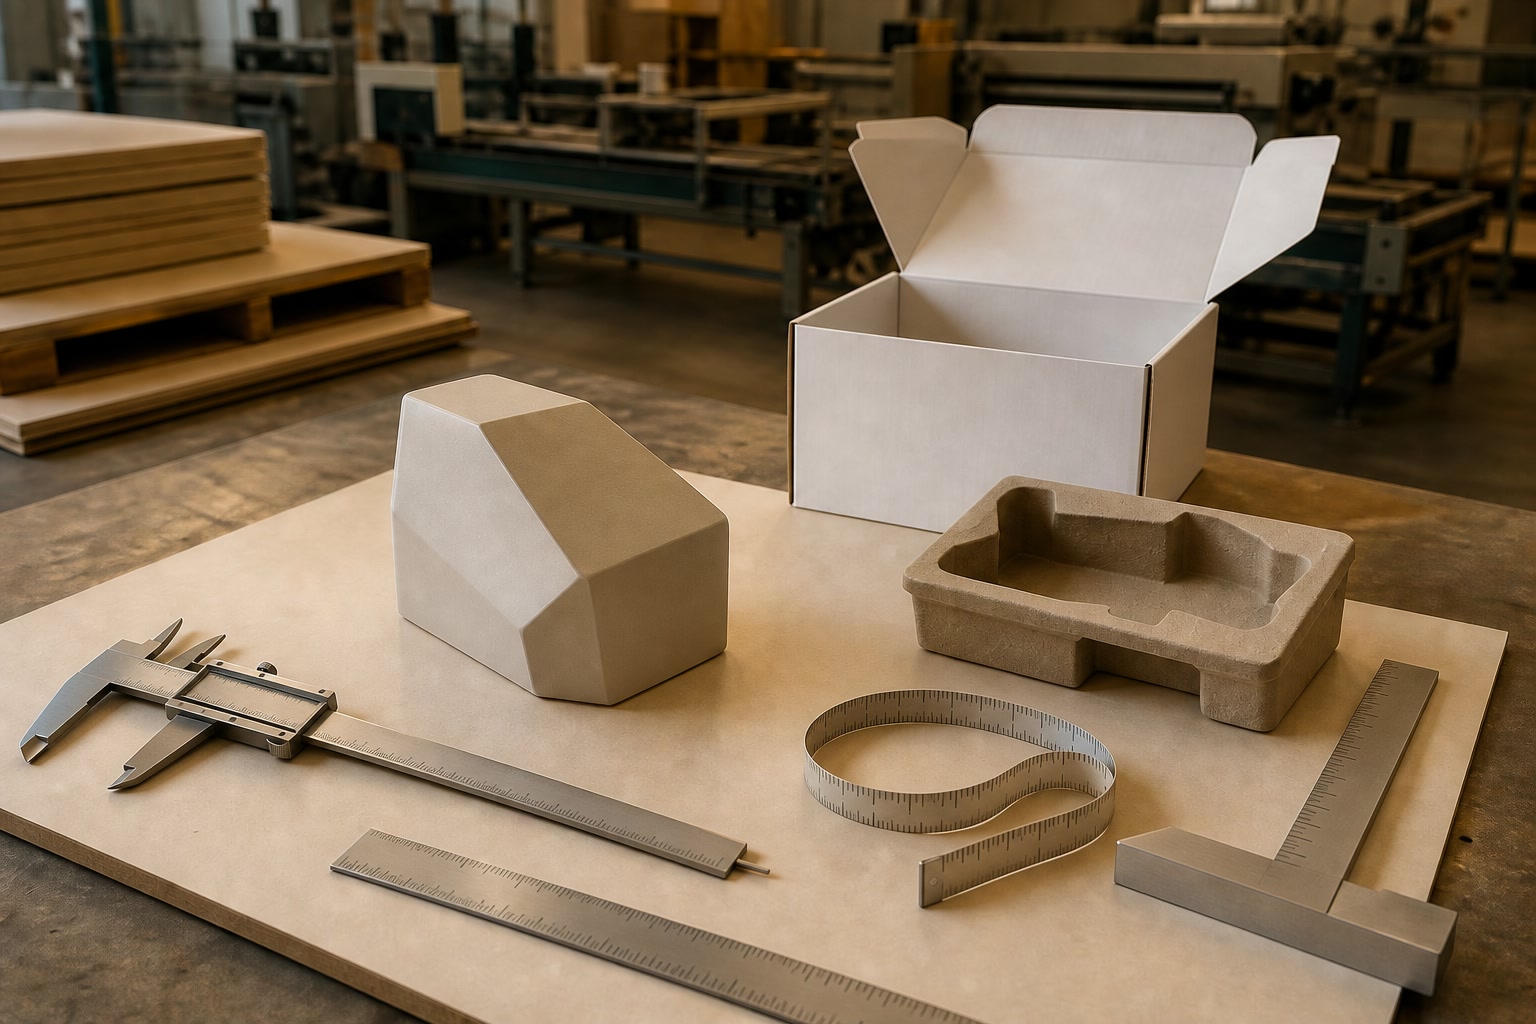
To measure a product for a custom box, record its maximum length, width and height in the intended packed orientation, then add the space required for protection, inserts, assembly and easy removal. The resulting figure is the box’s internal dimensions, normally stated as L × W × H.
Do not measure only the bare product and assume it will fit once wrapped. A made-to-measure box must accommodate every feature that will be inside it: caps, handles, cables, labels, protective sleeves, trays and any movement allowance needed for packing.
A reliable process is:
- Choose the product’s packed orientation.
- Measure its largest points accurately.
- Add the thickness of protection and inserts.
- Set practical clearances for packing and removal.
- Check the opening style and how the product will be assembled into the box.
- Confirm the specification with a physical sample before committing to a full order.
Choose the correct measurement tools
The right tools reduce avoidable fitting problems. For most custom packaging projects, measurements should be recorded in millimetres (mm) rather than centimetres, as this gives packaging designers and manufacturers more useful detail.
Use the tool that matches the product and the level of precision required.
| Tool | Best use | What to watch for |
|---|---|---|
| Steel rule or tape measure | Larger, rigid products and outer product dimensions | Keep the rule straight and measure from the true outermost points |
| Digital callipers | Small products, closures, jars, components and detailed features | Check that the jaws are square to the item and avoid compressing soft materials |
| Height gauge or flat surface with rule | Products with uneven heights | Measure from a stable reference surface |
| Flexible tape measure | Soft goods, textiles and rounded items | It can follow contours too closely; use it alongside a maximum-width check |
| Weighing scale | Selecting board strength, insert design and handling approach | Weight does not determine dimensions, but it affects packaging suitability |
| Camera and dimensioned sketch | Complex or irregular products | Include all projections, vulnerable areas and intended orientation |
For routine work, place the product on a flat, level surface and use a rigid rule or digital callipers. Measure each dimension at least twice. If readings differ, use the larger measurement and identify why: the product may be tapered, flexible or not sitting squarely.
When requesting a quotation for custom packaging boxes, provide dimensions in a clear format such as:
Product packed orientation: upright
Product maximum size: 185 mm L × 72 mm W × 48 mm H
Protective wrap: 2 mm foam sleeve on all sides
Insert: folded cartonboard tray
Required box internal size: to be confirmed from insert layout
This is more useful than supplying a single vague measurement or sending an image without dimensions.
Record maximum dimensions and irregular features
Measure the product as it will actually sit inside the box, not necessarily as it is displayed or used. The orientation affects the box footprint, opening style, insert design, stacking and ease of packing.
Establish length, width and height before measuring
For a rectangular box, use the convention:
- Length (L): usually the longest horizontal side when viewed from above.
- Width (W): the shorter horizontal side when viewed from above.
- Height (H): the vertical dimension from the base to the top.
Consistency matters more than which horizontal side you call length. Label your sketch so that the product, insert and box are all discussed in the same orientation.
For example, a candle jar might measure 80 mm diameter × 95 mm high. It could be specified for an upright box as:
- Internal box footprint: based on the 80 mm diameter plus protection and clearance
- Internal box height: based on 95 mm plus top and bottom protection
A product placed on its side would need a completely different internal layout.
Measure the outermost points, not the nominal body size
The largest dimension is the one that controls fit. Check for features that sit beyond the main body, including:
- Lids, caps, corks and pumps
- Handles, loops and hanging tabs
- Switches, buttons and control knobs
- Seals, collars and label seams
- Corners, feet and raised bases
- Cables, plugs and connectors
- Product information cards attached to the item
- Hinges, clasps and protruding fasteners
A bottle body may be 60 mm wide, for example, but its cap may be 64 mm wide. The packaging must be designed around the 64 mm maximum, unless the product is deliberately positioned so that the cap has a separate recess.
Account for rounded, tapered and flexible shapes
Not every product is a neat cuboid. Use the enclosing-box method: identify the smallest imaginary rectangle that contains the product’s widest, longest and tallest points.
For a cylindrical item, measure:
- Maximum diameter
- Overall height
- Diameter at any wider shoulder, base or closure
For a tapered item, measure both ends and the widest point between them. For a pouch, garment or soft product, measure it in its agreed packed state. If the item will be folded, rolled, compressed or tied, measure that finished presentation rather than an unprepared product.
For irregular products, a simple dimensioned drawing is often more valuable than a long email description. Mark:
- Maximum dimensions
- Fragile points
- Areas that must not be compressed
- Intended orientation
- Whether the product can rotate or be laid on its side
- The preferred gripping point for removal
Allow for protective wrapping and inserts
The box must fit the packed product, not the bare item. Add every component placed between the product and the box wall before deciding on internal dimensions.
This may include:
- Tissue paper, glassine or wrapping paper
- Bubble wrap, foam sleeves or foam pads
- Corrugated wrap
- Shrink film or protective bags
- Paper void fill
- Cardboard dividers
- Folded cartonboard inserts
- Pulp, foam or moulded trays
- Leaflets, vouchers, care cards and accessories
Calculate the protected product envelope
Start with the bare maximum product dimensions. Then add the thickness of protective materials on the relevant sides.
For protection that surrounds the product equally on each side:
Protected length = product length + left protection + right protection
Protected width = product width + front protection + back protection
Protected height = product height + bottom protection + top protection
Suppose a product is 150 mm × 90 mm × 35 mm and has a 3 mm protective sleeve around all sides. Its protected envelope is:
- Length: 150 + 3 + 3 = 156 mm
- Width: 90 + 3 + 3 = 96 mm
- Height: 35 + 3 + 3 = 41 mm
That is still not automatically the box size. You must also allow for the insert structure, clearances and the way the product is loaded.
Treat inserts as structures, not flat sheets
An insert does more than add material thickness. It can change the usable internal space through folds, walls, tabs, apertures and product-retention features.
For example:
- A flat base pad mainly adds to height.
- A tray can add to length, width and height through its folded side walls.
- A divider creates separate compartments and may require space between products.
- A die-cut aperture needs to be sized for the item’s actual entry path, not only its resting position.
- A tightly fitted collar may retain the product well but make packing slow or make removal awkward.
Ask for the insert’s finished internal cavity dimensions. These are more relevant than the overall insert blank size or the external dimensions of the finished box.
If an item is fragile, the protective material should be selected according to the product’s vulnerability, weight and expected handling conditions. Adding space without a retention method can allow the item to move; making the fit excessively tight can transfer pressure to the product.
Plan tolerances without guessing
Tolerance is the controlled difference between the product’s protected size and the usable internal space of the packaging. It is necessary because products, wraps, inserts and folded cartons all vary slightly in real production.
The aim is not simply “as tight as possible”. A box needs enough allowance to be packed consistently, but not so much that the product rattles, shifts or looks poorly presented.
Separate clearance from manufacturing tolerance
These are related but different requirements:
- Clearance is intentional space for loading, removing or positioning the product.
- Manufacturing tolerance is the expected variation in products and packaging components.
A product that measures 100 mm wide in one sample may vary between production batches. Likewise, a folded carton or insert can have minor variation due to board thickness, scoring, folding and assembly. Your specification needs to work across those normal changes.
Rather than choosing a universal allowance, assess:
- Product variation – Is every item consistently the same size?
- Material compressibility – Can the wrap or foam compress safely?
- Insert style – Does it locate the product, or simply sit beneath it?
- Packing method – Is it hand-packed, semi-automated or automated?
- Removal requirement – Must a customer lift the item out easily?
- Product sensitivity – Can surfaces tolerate light contact or compression?
- Box construction – Does the carton need room to close without bulging?
Use a dimensional budget
A dimensional budget makes the decision traceable. For each axis, list what occupies space and what clearance is required.
| Dimension | Example calculation |
|---|---|
| Internal length | Product length + end protection + insert walls + loading clearance |
| Internal width | Product width + side protection + insert walls + fitting clearance |
| Internal height | Product height + base protection + lid/top protection + closure clearance |
For a snug retail presentation box, the usable cavity may be only modestly larger than the protected product. For an e-commerce shipping box with loose protective fill, the difference may be much greater. These are different packaging jobs and should not share the same sizing logic.
Do not specify “zero tolerance” for a folded box. It is likely to create packing difficulties, crushed corners, bulging panels or inconsistent closure. Equally, do not add large gaps simply because the product might be difficult to measure. Resolve the uncertainty through better measurements and sampling.
Consider board thickness and internal versus external dimensions
When ordering a box, always state whether dimensions are internal or external. For product fit, internal dimensions are normally the critical figures.
External dimensions will be larger because the box material, folds and construction occupy space. The exact difference depends on the board grade, box style and number of folded layers. It should be confirmed for the selected construction rather than estimated from a generic formula.
This distinction matters when the custom box must fit inside another carton, sit in a retail fixture, work with a mailing sleeve or meet a maximum parcel format.
Check opening, assembly and removal
A product can fit inside a box on paper and still be impractical to pack or use. Before approving dimensions, test the complete journey: loading, closing, opening and removal.
Match the box opening to the product’s entry path
Consider how the product will pass through the opening:
- A top-opening carton needs enough opening width and length for the item or insert to pass through.
- A sleeve and tray requires clearance for the tray to slide without catching.
- A hinged presentation box needs room for the lid to close over the packed contents.
- A drawer-style box may need a finger notch, ribbon pull or other removal feature.
- A rigid or tightly fitted insert may require a thumb cut-out or lifting tab.
A product may fit when placed into an open box from above but not when it needs to slide in from the side. This is especially important for items with wide shoulders, delicate corners or flexible appendages.
Allow for assembly sequence
Write down the actual packing sequence, particularly when there are multiple components. For example:
- Assemble the box or tray.
- Add base pad or lower insert.
- Place the wrapped product.
- Add leaflet or accessory.
- Fit top insert or protective pad.
- Close and secure the box.
At each stage, ask whether an operator can perform the action without forcing the product or damaging the box. A design that only works when carefully packed by one person may not be suitable for repeatable production.
Check customer removal and presentation
A very close-fitting box can feel premium, but it should not require shaking, pulling on a fragile component or turning the box upside down to remove the product.
Plan a removal method where appropriate:
- Finger notch
- Ribbon pull
- Thumb cut-out in an insert
- Lift tab
- Recess around the product
- Tray with adequate gripping space
Also check whether the product will remain upright when the customer opens the pack. If orientation is important for presentation, use a locating insert or divider rather than relying on a tight outer box alone.
Validate dimensions with a physical sample
A physical sample is the most dependable way to confirm that a custom box works in practice. Digital drawings and measurements are essential, but they cannot fully show the effects of folding, board thickness, wrapping behaviour, product variation and human handling.
Test the sample with the real product and every component that will be packed inside it. If final components are not available, use representative items with documented dimensions and material properties, then repeat the check with production-ready items.
Run a practical fit check
Use this checklist:
- Does the product enter the box without force?
- Does every protective component fit in the intended position?
- Does the insert hold the product securely?
- Can the box close naturally without bowed panels or stressed edges?
- Is there unwanted movement when the closed pack is gently handled?
- Can the product be removed without damaging it, the insert or the box?
- Do labels, printed surfaces and decorative finishes avoid rubbing where possible?
- Does the pack look correctly aligned from the customer-facing side?
- Does the filled box fit any outer mailing carton, shelf space or storage location it is designed for?
- Have you tried more than one product unit where size variation is possible?
If the product is heavy, fragile or has a sensitive finish, test the packaging under realistic handling conditions appropriate to your supply chain. The required level of testing and protective design varies by product type, route and handling risk.
Approve the whole specification, not only the size
Before finalising, keep a record of:
- Product revision or SKU
- Packed orientation
- Maximum product dimensions
- Internal box dimensions
- Box style and opening direction
- Board or packaging material selection
- Insert type and cavity dimensions
- Protective components
- Required clearances
- Artwork version, where printed packaging is involved
- Approved physical sample date and any changes made
This record avoids a common problem: a box is reordered from an old size after the product, closure, label or insert has changed.
Common measuring mistakes to avoid
The most frequent problems are preventable:
- Measuring the product without its protective wrap: the finished pack becomes too tight.
- Using average dimensions instead of maximum dimensions: larger units may not fit.
- Ignoring lids, pumps or handles: protrusions catch during packing or closure.
- Confusing internal and external box measurements: the product fits on paper but not in reality.
- Allowing no room to load or remove the item: packing becomes slow and customers struggle to open it.
- Adding excess empty space without retention: the product moves and can be damaged.
- Choosing an insert before fixing the packed product size: the insert cavity may be wrong.
- Approving a drawing without sampling: folding and real-world assembly can reveal issues a drawing cannot.
- Failing to remeasure after a product change: new labels, caps or accessories can alter the required size.
FAQ
Should a custom box be exactly the same size as the product?
No. The internal box size should be based on the product’s protected packed dimensions, plus suitable clearance for the insert, loading, closure and removal. An exact bare-product fit is usually too tight.
Are box dimensions listed as length, width and height?
Usually, yes. The common format is L × W × H, but conventions can vary between suppliers and box styles. Label each direction on your drawing and confirm whether all stated dimensions are internal.
How do I measure a round product for a square box?
Measure the product’s maximum diameter and height. Add the protection, insert structure and required clearance. A round item generally needs an insert, collar or divider if it must remain centred and cannot roll.
How much extra space should I add around a product?
There is no single correct amount. The right clearance depends on the product’s dimensional variation, wrapping thickness, insert design, packing method, material compressibility and removal needs. Calculate the space required for each component, then confirm it with a physical sample.
Do I need an insert for every custom box?
No. An insert is most useful when the product is fragile, irregular, heavy, premium-presented, supplied with accessories or needs to remain in a fixed orientation. A simple wrapped product may only need a correctly sized carton and suitable protective material.
Accurate dimensions give a packaging project a sound starting point, but the final decision should be based on the complete packed product and a sample check. When you are ready to develop a specification, review the available custom box options and provide a dimensioned product sketch, packing sequence and list of internal components.
