
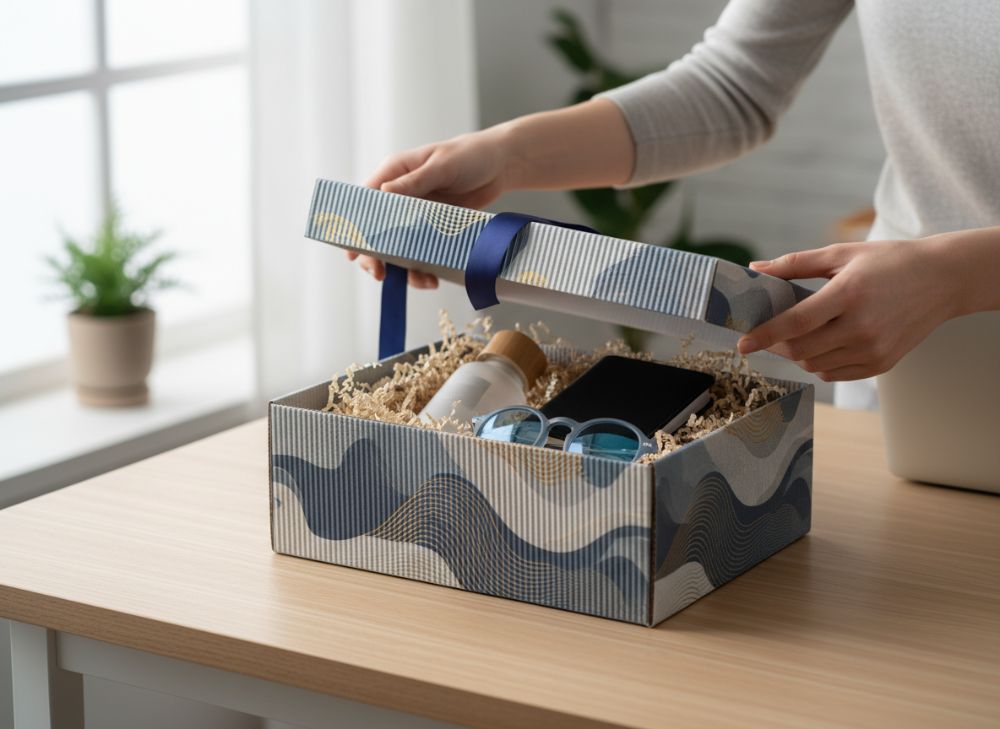
Custom packaging boosts ecommerce sales when it makes buying, receiving and sharing your product feel easier and more considered. Start with a box that fits the product, protects it in transit and clearly communicates what the customer needs to know. Then add brand elements that are recognisable without making the pack busy or difficult to recycle.
When considering how to design custom packaging that boosts your ecommerce sales, prioritise the customer journey over decoration. A striking box is useful only if it arrives in good condition, opens intuitively and gives customers confidence in the product inside.
Understanding Your Target Audience & Unboxing Expectations
Your packaging should reflect why a customer bought the item, where they are likely to open it and what they will do with it afterwards. A low-cost replenishment product, a premium gift and a fragile product all need different packaging priorities.
Begin with a simple audience-and-use brief:
- Product type: Is it fragile, heavy, liquid, food-contact, wearable or easily scratched?
- Purchase motivation: Is the buyer treating themselves, replacing an essential item or giving a present?
- Opening environment: Will it commonly be opened at home, at work or sent directly to a recipient?
- Brand position: Should the experience feel practical, playful, understated, luxurious or environmentally conscious?
- Repeat-use potential: Could the box become storage, a keepsake or a reusable mailing container?
- Information needs: What instructions, variants, ingredients, warnings or care information must be easy to find?
A direct-to-consumer product usually benefits from a clear first layer: the outer pack should protect and identify the order without revealing sensitive product details. Inside, the customer should be able to understand how to open the pack, locate the product and dispose of the materials with minimal effort.
Build an unboxing sequence, not just a printed box
Think through each moment in order:
- Arrival: The package looks intact and appropriately sized.
- Opening: The customer can find the opening point without tearing through the product packaging.
- First reveal: The product is presented securely, with unnecessary empty space avoided.
- Brand recognition: Colour, typography and tone make the pack feel consistent with your website and product.
- Useful information: Instructions or a message appear where the customer naturally looks.
- After use: Materials can be separated or reused without confusion.
For products intended as presents, consider custom gift packaging that feels suitable for handing over without additional wrapping. For everyday ecommerce orders, however, restraint can be more valuable than elaborate layers. Every additional component should have a job: protection, presentation, guidance or retention.
Integrating Label Sticker Design with Your Box
Labels and stickers are an efficient way to add variable or campaign-specific information without redesigning the entire box. They are especially useful where product variants, batch details, seasonal messaging or fulfilment requirements change more often than the core packaging artwork.
Use a label as part of the system, not as an afterthought. Its material, adhesive, size and placement should all work with the box finish and the conditions it will encounter.
Choose the right role for each printed element
| Packaging element | Best used for | Key design consideration |
|---|---|---|
| Printed box artwork | Core brand identity, permanent product information and visual structure | Keep essential text legible at actual box size |
| Product label | Variant names, barcodes, ingredients, care details or changing information | Leave enough clear space and ensure adhesion to the chosen surface |
| Seal sticker | Tamper indication, opening guidance or a branded closing detail | Do not place it where removal damages essential product information |
| Thank-you or insert sticker | Personalisation, campaign messages or referral prompts | Keep the message brief and avoid obstructing recycling guidance |
A label can create a premium detail when it is aligned accurately with the box structure. A poorly placed label can have the opposite effect, particularly if it wrinkles over folds, crosses a die-cut opening or covers important text.
Before ordering, confirm:
- the box surface is compatible with the label adhesive;
- the label remains readable against the print colour beneath it;
- barcode placement and quiet zones meet the requirements of your sales channels;
- the label does not interfere with opening, sealing or recycling separation;
- variable information has a controlled artwork version and approval process.
Browse custom printed stickers when you need a separate label component for product identification, seals or campaign messaging.
Technical Specs: Sizing and Durability for Shipping
A box cannot improve ecommerce performance if it is oversized, difficult to pack or unable to protect the product. Correct dimensions and structural choices reduce avoidable movement while helping the order look purposeful on arrival.
Specify the product dimensions first, including any caps, handles, protrusions, retail sleeves and protective components. Then decide how much clearance is needed for inserts or protective material. Do not size a shipping box from a product photograph or nominal dimensions alone.
Specify dimensions clearly
Use internal dimensions in this order:
Length × width × depth
State the unit consistently, usually millimetres, and identify whether each measurement is internal or external. This avoids a common procurement error: approving a box that appears correct in a drawing but does not accommodate the finished product.
Consider these factors when selecting structure and material:
- Product weight: Heavier items need more structural support than lightweight goods.
- Product vulnerability: Glass, ceramics, cosmetics, electronics and items with delicate finishes may need tailored inserts or void fill.
- Stacking and handling: Outer packaging should account for normal warehouse and delivery handling conditions.
- Moisture exposure: Some products or storage conditions may call for a more suitable board, coating or protective design.
- Closure method: Tuck flaps, self-locking bases, adhesive strips and sleeves each affect opening convenience and strength.
- Return journey: If you expect returns, consider whether the pack can be resealed or whether a return-friendly secondary pack is required.
Avoid the “one box fits all” approach
Standardising a small set of formats can simplify fulfilment, but forcing every SKU into the same carton often creates excess void space. This can make the order feel wasteful and allow products to move inside the box.
A practical compromise is to develop a packaging family: shared colours, typography and panel layout across two or three size formats. This protects brand consistency while giving products a more appropriate fit.
For bespoke formats, review available custom box options alongside your product measurements, closure requirements and desired finish.
5 Common Paper Box Design Mistakes to Avoid
Paper packaging can look refined and be straightforward to recycle, but only when the construction, print and finishes are considered together. Avoid these frequent mistakes.
1. Designing before the dieline is approved
Artwork built on an assumed box shape can lead to logos landing over folds, text disappearing into glue areas or graphics being cut off. Start with the correct dieline, then mark safe areas, folds, cut lines and non-print zones before designing.
2. Making type too small or too close to edges
Fine text may look acceptable on screen but become difficult to read on a small panel or near a crease. Leave sufficient clearance around edges and folds, and review text at physical size. This is particularly important for instructions, product details and any required information.
3. Treating colour on screen as final print colour
Screens display light; printed inks sit on a physical surface. Board tone, finish, ink coverage and surrounding colours can alter the perceived result. Supply print-ready artwork in the requested format and ask to review colour expectations, especially where brand colours are important.
4. Adding finishes without considering function
Foil, embossing, lamination and coatings can add contrast and tactility, but they may affect cost, recyclability, label adhesion or how the pack behaves on folding lines. Choose finishes because they support the customer experience, not merely because they look impressive in a digital mock-up.
5. Forgetting the outer shipping experience
A beautiful retail carton may still need protection during delivery. Decide whether the branded box is the shipping box, sits inside a plain transit carton or needs an additional protective layer. Test the complete pack configuration rather than assessing the retail box in isolation.
Measuring the ROI of Premium Gift Packaging
Premium gift packaging should be assessed as a commercial choice, not only a creative one. It may support higher perceived value, reduce the need for separate gift wrap, encourage sharing or help distinguish a product range. Its value depends on your audience, product margin and sales model.
Set out a clear hypothesis before investing. For example: “A gift-ready box may make this product more suitable for direct gifting,” or “A stronger presentation may improve conversion on a premium range.” Then choose measures that relate to that objective.
Useful measures to track
- conversion rate for the product or gift bundle;
- average order value;
- gift-message or gift-option selection;
- product return reasons relating to presentation or damage;
- customer service queries about packaging;
- repeat purchase behaviour for comparable products;
- customer feedback that specifically mentions the packaging;
- rate of packaging-related damage or replacement requests.
Compare like with like where possible. A seasonal campaign, price change, new product launch or revised photography can all influence sales, so avoid assuming packaging alone caused a change.
A simple commercial calculation can help structure the decision:
Incremental contribution from additional sales or retained orders − added packaging and handling cost = estimated packaging contribution
Include all relevant costs: the box, inserts, labels, assembly time, storage space, damage risk and any changes to packing workflow. Premium packaging is more likely to justify itself when it solves a clear problem for the customer rather than simply adding layers.
Sourcing Sustainable and Recyclable Materials
Sustainable packaging decisions should consider the whole design: amount of material, recycled content where appropriate, transport efficiency, reuse potential, coatings, adhesives, labels and how easily customers can separate components.
The most recyclable-looking design is not always the simplest to process in practice. Mixed materials, decorative finishes and permanently attached components can complicate sorting. Ask suppliers for material-specific information rather than relying only on broad terms such as “eco-friendly” or “green”.
Questions to ask when comparing materials
- Is the board suitable for the product weight and intended use?
- What recycled-content options are available, if relevant to the brief?
- Can the pack be made with fewer components or a lighter structure without compromising protection?
- Are coatings, laminations, foils or windows necessary?
- Can labels, seals and inserts be removed easily where needed?
- What disposal guidance is appropriate for the final combination of materials?
- Do your environmental claims accurately reflect the finished pack, rather than one component?
Avoid making unverified recyclability, compostability or recycled-content claims in your artwork. Requirements and collection capabilities can vary, so confirm the claims and on-pack wording suitable for your product and target market before printing.
A well-designed paper box with limited material use, appropriate protection and clear disposal information is often a more credible starting point than adding sustainability language to an over-engineered package.
Tips for Mockups and Prototyping Your Design
Digital mock-ups are helpful for choosing layout and presenting concepts internally, but they cannot fully show how a box will fold, feel or perform. Use them early, then move to physical samples before committing to a production run.
Review a mock-up from the customer’s point of view
Check whether:
- the logo is visible from the most likely opening and display angles;
- front, side and top panels have a clear hierarchy;
- text remains readable over images, textures and coloured backgrounds;
- opening cues are obvious;
- labels align with the box and do not cross folds;
- photography, colour and copy match your online product page;
- the exterior communicates only what you want visible before opening.
What a physical prototype should test
A prototype should test structure as well as appearance. Place the actual product inside, assemble it as a packing team would and open it as a customer would. Review fit, movement, closure, ease of packing, label position and the condition of the contents after ordinary handling.
Where your product is fragile or high value, test the full packaging configuration, including any transit protection. If you are using a new finish or complex construction, a physical proof can reveal issues that a flat artwork file will not.
Record changes in a controlled artwork file so older dielines, labels and copy do not accidentally return in later orders.
Final Checklist Before Sending to Print
Use this checklist to reduce avoidable artwork, specification and production errors.
Product and structure
- Internal box dimensions have been confirmed using the finished product.
- Product weight, fragility and packing method have informed the box structure.
- The closure is practical for both packing and customer opening.
- Inserts, labels and protective materials fit the approved format.
- The final dieline is being used, not an early concept template.
Artwork and information
- Logos, text and key graphics sit within safe areas.
- Text is readable at actual print size.
- Barcodes, product variants and any required information have been checked.
- Colour references, finishes and print expectations are documented.
- Images and graphics have suitable resolution for print.
- Copy, spelling, product names and web addresses have been approved.
Materials and operations
- Board, finish, label and adhesive choices work together.
- Sustainability and disposal claims have been verified for the finished pack.
- The packing team can assemble the box consistently.
- Storage, packing and shipping requirements have been considered.
- A physical sample has been reviewed where the structure or finish warrants it.
- The final approval version is clearly identified and retained.
Good custom packaging connects brand presentation with real-world handling. If you are developing a new format, begin with product measurements and a clear customer journey, then refine the artwork around the approved structure. For background on XGolden Print’s packaging capabilities, see the company overview.
