
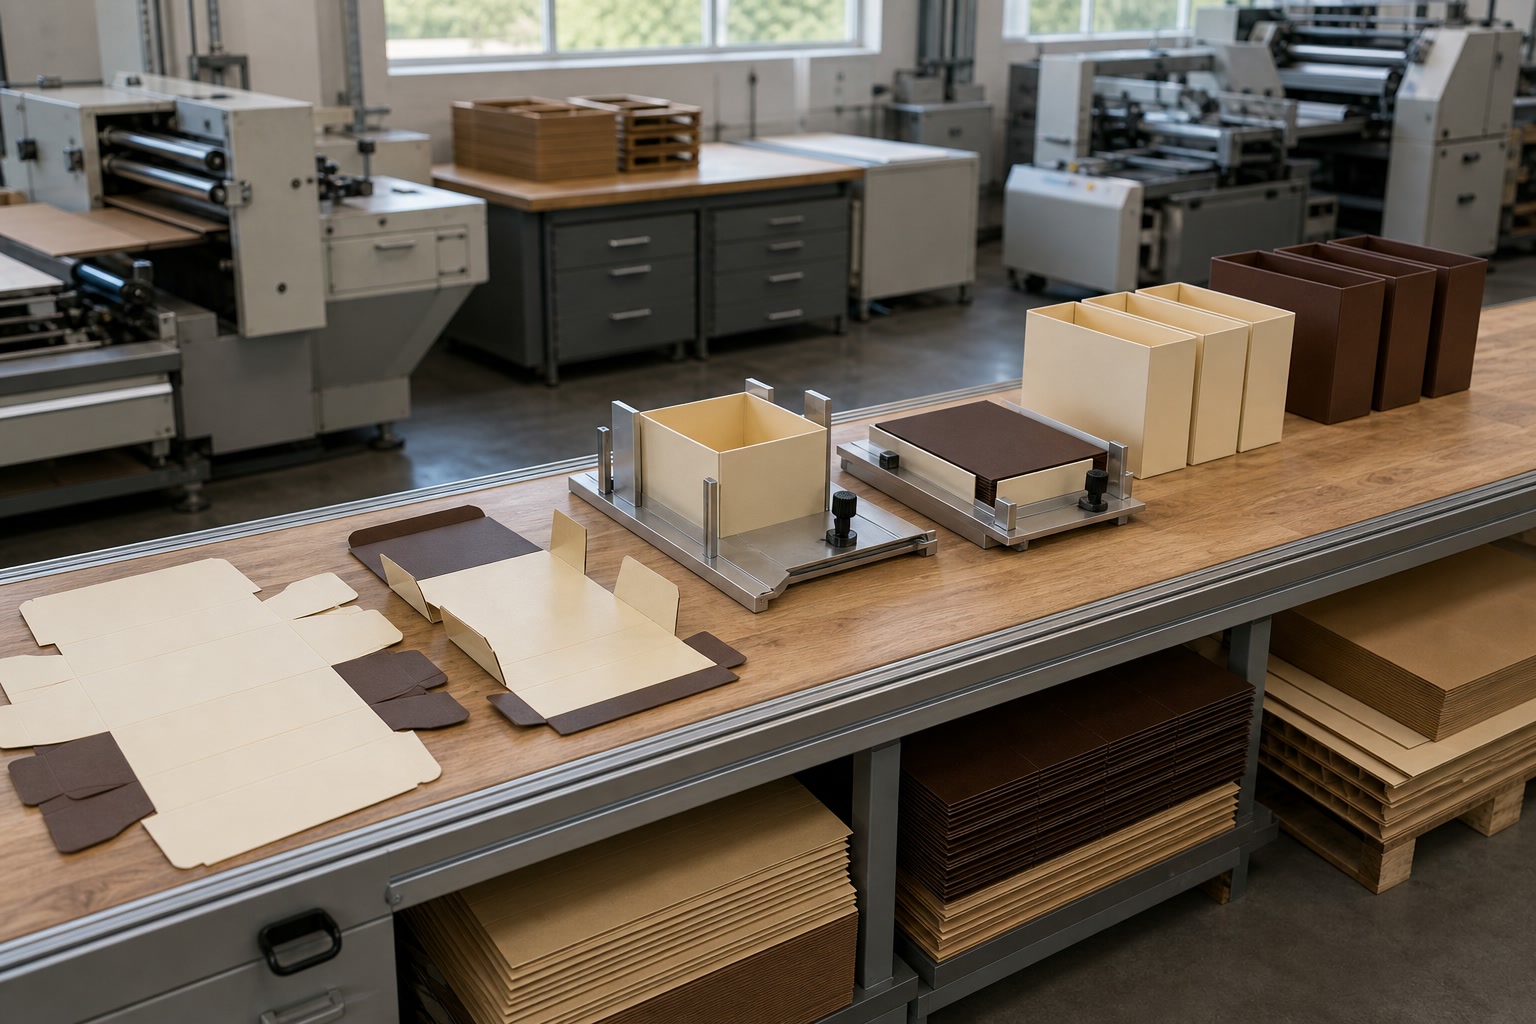
Packaging design for assembly means designing the box, insert, closure and packing instructions as one practical system. The most efficient formats let a packer pick up components in the right order, place the product without force or guesswork, close the pack reliably and move it to the next stage with minimal handling.
A visually impressive pack can still create slow, inconsistent pack-out if it has awkward folds, loose inserts, unclear orientation or too many separate parts. Addressing those details early helps brands protect presentation, control labour time and make the process easier to train and repeat.
Map the packing sequence
Start with the real sequence on the packing bench, not simply the finished pack viewed by a customer. List every action required from receiving a flat box to placing the completed item into outer transit packaging. This reveals whether the structural design genuinely supports efficient assembly.
A typical sequence may be:
- Pick the outer box and erect it.
- Form or place the insert.
- Add tissue, a leaflet, label or other presentation element.
- Place the product in its intended orientation.
- Check that accessories or variants are present.
- Close and secure the pack.
- Apply the shipping or product label where applicable.
- Place the completed pack into a transit carton.
For every step, ask four questions:
- Does the packer need both hands, or can one action be completed while holding the product?
- Is there a clear place for each component, without adjustment or trial fitting?
- Can the product be placed in more than one direction by mistake?
- Does this action require excessive pressure, folding or reworking?
The goal is not necessarily the fewest possible steps. It is a sequence with predictable steps. For example, a premium gift box may deliberately include tissue paper and a ribbon, but these additions should have an assigned order and an intuitive placement method.
Design from the product outwards
Measure the actual product configuration that will be packed, including caps, handles, cables, protective sleeves, lids and bundled accessories. A packaging drawing based on nominal product dimensions can cause problems when the real item varies slightly or arrives from production with protective film already attached.
Define the packing condition before fixing dimensions:
- Is the product packed bare, bagged, wrapped or sleeved?
- Are there one or several product sizes in the same box?
- Must an instruction card, warranty leaflet or promotional insert sit above, below or beside the item?
- Does the product need to be presented facing a particular way on opening?
- Will the product be packed manually, semi-automatically or by a fulfilment partner?
A small amount of planned clearance may be necessary for quick placement. However, excessive space can allow movement, undermine presentation and create a need for extra void fill. The right fit balances straightforward loading with the protection appropriate to the product and its journey.
Separate packing time from handling time
When reviewing an existing format, distinguish between the time spent physically building the pack and time lost finding parts, correcting errors or waiting for materials. A box may be quick to erect but still slow overall if inserts arrive mixed together, labels are difficult to identify or the closure needs repeated adjustment.
This distinction helps procurement and product teams focus on the real issue. Changing a box style will not solve a poorly organised packing station, while a clearer box structure can remove recurring handling problems that workstation changes cannot fix.
Reduce unnecessary components
Each separate item introduces a picking, positioning and checking task. In packaging design for assembly, components should earn their place by serving a clear purpose: protection, product retention, information, tamper evidence, brand presentation or the customer unboxing experience.
Review all components together, including those that are not part of the printed box:
- Outer box or mailer
- Inner tray, collar or rigid base
- Product insert or divider
- Tissue, protective wrap or bags
- Leaflets, cards and vouchers
- Stickers, seals and labels
- Ribbons, sleeves and belly bands
- Void-fill materials
Removing an item is not always the right answer. A well-designed insert, for instance, may reduce the need for several loose protective materials and make loading faster. The key is to remove duplication rather than protection or necessary customer information.
| Component decision | Potential assembly benefit | Check before removing or combining |
|---|---|---|
| Printed message inside the box instead of a loose card | One less item to pick and position | Content may need to change between campaigns or product variants |
| Integrated retaining feature instead of a separate insert | Fewer loose parts and simpler stock control | Product must still be secure and easy to remove |
| Self-locking construction instead of separate tape | Faster close-out and fewer consumables | Closure must remain suitable for the intended distribution route |
| One multi-purpose insert instead of several fillers | Reduced picking and fewer positioning errors | Ensure it protects all vulnerable areas of the product |
| Direct print rather than an applied label | Removes a labelling stage | Artwork, version control and variable data requirements must be considered |
Avoid false simplification
A reduction in component count can shift complexity elsewhere. For example, an insert integrated into the box may make the blank more complicated to erect. A very tightly engineered fit can reduce void fill but make it difficult to load products consistently.
Assess the whole pack-out operation, rather than judging a single component in isolation. Ask whether the revised design makes the task easier for a new packer to learn and repeat over a full shift, not only during a slow, controlled sample build.
Common mistakes include:
- Combining components but creating folds that are difficult to understand.
- Removing a divider and causing products to touch in transit.
- Specifying an ornate closure that is attractive but slow to align.
- Adding several decorative loose items without a defined packing order.
- Using one format for different product variants when their shapes require distinct support.
Choose practical closures and inserts
Closure choice has a direct effect on assembly speed, presentation and the chance of incomplete packs. The best option depends on whether the packaging is primarily a retail carton, a gift pack, an e-commerce shipment or an inner presentation box within a separate transit carton.
A practical closure should be clear to engage, repeatable across batches and appropriate to the handling it will receive. It should also be considered alongside how the recipient opens the pack. A secure closure that tears the box during normal opening may not suit a reusable or premium format.
Compare closure types by the packing task
| Closure type | Assembly strengths | Assembly considerations | Often suited to |
|---|---|---|---|
| Tuck-in flap | Familiar and quick for straightforward cartons | Tabs can catch or spring open if the fit is too tight or too loose | Light retail cartons and inner packs |
| Auto-lock base | Reduces base-forming steps after opening the blank | Requires correct blank handling; base needs to be checked before loading | Product boxes needing a quicker base set-up |
| Crash-lock base | Fast to open into shape | May cost more than simpler flat-pack structures; confirm suitability for product weight | Higher-volume manual packing |
| Self-locking tabs | Can avoid tape and separate sealing materials | Tab alignment and board stiffness affect repeatability | Presentation cartons and selected retail packs |
| Peel-and-seal strip | Quick final sealing for mailing packs | Once sealed, it is not readily reopened; placement accuracy matters | E-commerce mailers |
| Magnetic closure | Gives a premium opening experience | Usually involves more components and alignment; not inherently the fastest choice | Premium gift and presentation packaging |
| Ribbon or sleeve closure | Strong visual impact | Adds manual positioning and variation between packers | Low-volume or deliberately crafted gift packing |
Do not choose a closure solely from a dieline image. Request a physical sample and have the intended packers close it repeatedly, including with gloves if they will be used in the operation. Board thickness, finish, humidity and fold accuracy can all affect how a closure performs in practice.
Select inserts that guide placement
An insert should do more than fill space. It can establish product orientation, separate accessories, protect sensitive points and make a completed pack visibly easy to check.
For efficient manual pack-out, consider inserts that:
- Have a clearly defined top and bottom.
- Sit in the box without being glued or adjusted during each build, where appropriate.
- Present a broad, accessible opening for the product.
- Keep accessories in obvious, separate locations.
- Do not snag on product corners, handles or protective bags.
- Allow the product to be lifted out without damage to the insert.
The material matters as much as the shape. A folded board insert can be supplied flat and assembled with the box, whereas a moulded or rigid insert may arrive pre-formed but take more storage space. A paper-based divider may suit simple separation, while delicate or irregular products may require a more tailored retention solution. Confirm the desired look, product protection needs, storage constraints and packing method before deciding.
For premium launches or presentation-led ranges, custom gift packaging can combine visual impact with a defined loading sequence. The design still needs to be trialled with every planned component, including any tissue, card or accessory.
Design clear orientation and access
A packer should be able to tell instantly which way the box, insert and product face. If orientation relies on reading a tiny code, remembering a rule or comparing the item against a photograph, inconsistencies are likely.
Build visual and physical cues into the packaging wherever possible. These may include:
- A distinct opening flap or thumb notch.
- An insert aperture shaped to accept the product in one direction.
- A clearly different top panel or internal printed cue.
- A dedicated pocket for a leaflet or accessory.
- Asymmetrical tabs or cut-outs that prevent incorrect assembly.
- Product-facing graphics that indicate the intended opening side.
Make the product easy to place and remove
Access is a practical assembly feature, not merely a consumer convenience. A narrow aperture or deep box may require the packer to push a product into place, increasing the risk of scuffs, crushed corners or incorrect orientation.
Test the loading motion itself. Can the packer lower the item directly into position, or must they twist it, flex the pack or use both hands to hold open a tight insert? Where a product needs a snug fit, finger cut-outs, pull tabs or a slight lead-in at the insert opening can improve access without compromising retention.
Also consider the point at which quality checks occur. If a key visual feature is hidden too early, staff may be unable to confirm that the correct variant, colour or accessory has been packed. Design the sequence so the relevant checks happen before irreversible closure or sealing.
Plan for real working conditions
Packaging can behave differently away from the approval table. In a live packing environment, people may work standing up, wear gloves, handle a mix of product variants or build packs at a sustained pace.
Avoid relying on fragile visual details, very tight tolerances or specialist knowledge. Simple cues are particularly valuable when temporary staff, seasonal volume changes or more than one packing site are involved. A robust pack-out method makes correct assembly the easiest option.
Trial assembly with representative products
A sample is useful only if it is tested in a realistic way. Trial assembly should use representative products, actual inserts and every component intended for the final pack. Testing an empty box, or one loaded with a substitute item, can conceal the issues that cause delays later.
Run a structured trial before approving the packaging specification.
A practical assembly trial
- Use production-representative contents. Include the correct product version, protective bag, accessories, printed material and labels.
- Build several packs from flat. This tests erection, insert fitting, product loading and closure rather than only the final appearance.
- Use more than one person. A designer or project owner already knows the intended method; a fresh operator identifies ambiguity.
- Repeat the task. A process that works once may become awkward after repeated folding and closing.
- Check both speed and quality. Note hesitation, rework, damaged edges, loose items, poor product alignment and missed components.
- Open completed samples. Confirm the customer-facing presentation, product removal and condition of the box after opening.
- Place packs into the planned transit arrangement. Check whether the finished dimensions and closure interact sensibly with outer cartons and any necessary protective materials.
Record observations in straightforward terms: “insert catches on product corner”, “leaflet can be packed upside down”, or “base needs two adjustments before locking”. These are more actionable than a general comment that the pack feels difficult.
Test realistic variation, not just the ideal product
Product dimensions and packaging materials may vary within agreed manufacturing tolerances. A design that only works with the smallest or most perfectly aligned sample is vulnerable to disruption.
Include likely variations in trials where feasible:
- The largest expected product configuration.
- Products with normal protective wrapping.
- A full set of accessories.
- A realistic quantity of printed inserts.
- Different product batches or finishes if these affect friction or dimensions.
- Packs that have been folded, stored and handled before assembly.
If the packaging will pass through a fulfilment operation, trial the exact steps that matter there: label placement, scanning visibility, sealing and placement into the outbound shipper. This is not a substitute for any product-specific distribution testing you may need, but it helps identify basic pack-out incompatibilities early.
Document the approved pack-out method
Once the format works, document the approved method before volume production begins. Packaging design for assembly is only fully effective when the intended sequence can be reproduced by people who were not involved in developing it.
A pack-out document can be short, but it should be visual, specific and version controlled. Include:
- The approved box, insert and component names or codes.
- A photograph or diagram of each stage.
- The exact packing order.
- Required product orientation and visible reference points.
- Component quantities for each SKU or bundle.
- Closure and sealing instructions.
- Placement of labels, stickers or variable information.
- A clear image of the acceptable finished pack.
- Simple checks for common errors.
- Revision date and owner of the specification.
Use photographs of the actual approved components rather than generic illustrations where possible. If different product sizes share similar packaging, identify the differences prominently. Small wording changes such as “place leaflet under insert” rather than “add leaflet” can prevent repeated variation.
Set clear approval criteria
Before signing off, agree what “correctly packed” means. This might include product orientation, closure engagement, component count, presentation on opening and the absence of visible damage. Where measurements, weights or sealing conditions are commercially important, define who is responsible for confirming them and how they will be recorded.
Keep the document available at the packing station and update it whenever artwork, product dimensions, inserts or accessories change. An artwork update can affect assembly if it removes an orientation cue; a new leaflet can affect fit even if the box dimensions stay the same.
For new formats, reviewing the construction options for custom packaging boxes can help turn the required packing sequence into a more practical structural brief. XGolden Print has 27 years of packaging and printing experience, which can be relevant when discussing how a proposed box format will be assembled alongside its visual requirements.
FAQ
What is the fastest box style to assemble?
There is no universal fastest style. Auto-lock and crash-lock formats can reduce base-forming steps, while simple tuck-end cartons can be efficient for light products. The fastest practical choice depends on product weight, insert requirements, closure security, packing volume and whether the box is an inner presentation pack or an outer shipping pack.
Should packaging be designed for one product size or several?
Use one format for several sizes only when each variant fits securely, is easy to load and still presents consistently. If one item needs extensive extra fill, complex adjustment or a different orientation, separate inserts or box sizes may be more efficient overall.
How can we reduce packing errors without adding more checks?
Design out the opportunity for error. Use one-way insert apertures, obvious top and bottom cues, defined accessory pockets and a packing order that leaves important checks visible before closure. Clear work instructions then reinforce the design rather than compensating for it.
When should assembly be tested?
Test early samples before final artwork and production approval, then repeat the check if the product, insert, materials, accessories or closure changes. Even a small change can affect fit, orientation or the amount of effort needed to close the pack.
Efficient pack-out begins with a simple question: can someone assemble the packaging correctly, repeatedly and without having to work around the design? Map the sequence, remove avoidable handling, test with real contents and issue a clear approved method before committing to volume production.
