
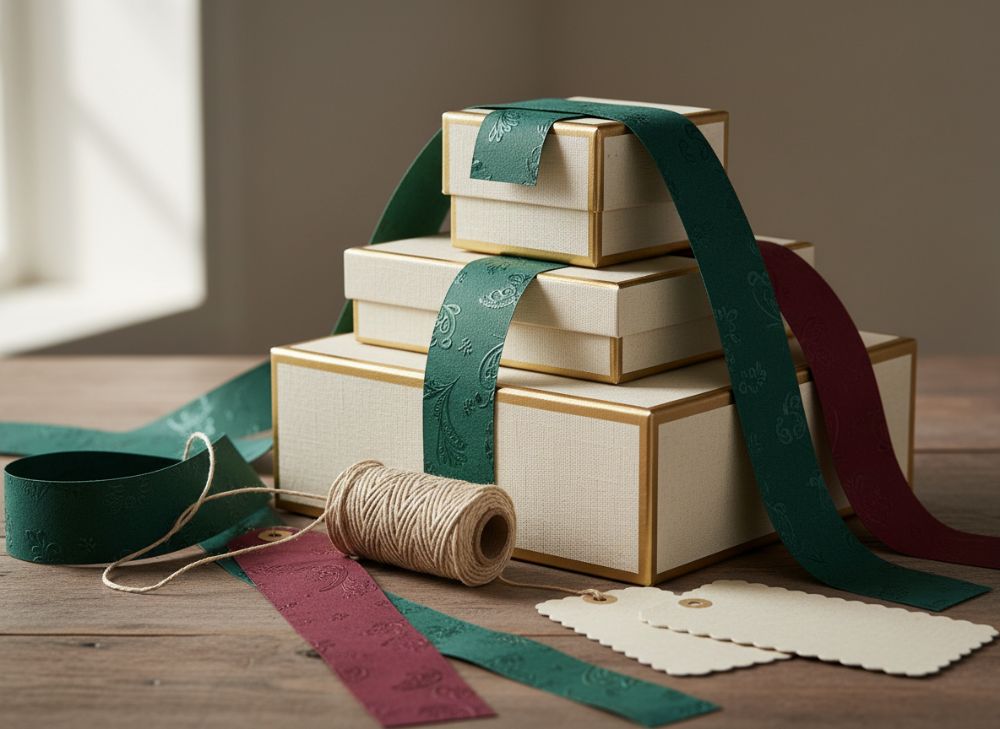
Creating luxury gift packaging with budget-friendly paper boxes and labels is mainly about control: a limited colour palette, a well-proportioned box, a tactile unboxing sequence and accurately applied details will usually look more premium than an over-decorated pack.
Start with a structurally sound paper box that fits the product, then invest selectively in the elements customers touch and notice most. A clean label, an insert that holds the item securely and a considered closure can deliver a high-end impression without specifying an expensive finish on every surface.
The Secret to High-End Cardboard Boxes
A luxury-looking box does not need to be heavy, highly embellished or complicated. It needs to feel intentional. The most cost-effective route is often a simple folding carton or rigid-style presentation format with strong visual discipline rather than multiple decorative processes.
Choose the structure according to the product’s weight, fragility and intended use. A lightweight candle accessory, cosmetics set or small gift can suit a neatly made folding carton. A heavier, delicate or multi-piece product may need a more substantial board construction or protective internal support. Do not assume that a thicker material is automatically better: an oversized or poorly fitting thick box can still feel wasteful and untidy.
Key choices that influence perceived quality include:
- Proportion: Leave a controlled margin around the product. Too much empty space can make an item look undersized; too little can make packing difficult.
- Board and surface: Smooth, uncoated stocks can feel refined and natural, while coated surfaces can support crisp colour and a cleaner contemporary appearance. Request material samples before finalising a finish.
- Print restraint: One or two carefully chosen ink colours can look more confident than a busy full-colour design.
- Opening experience: A lid, sleeve, tuck closure or drawer-style design should open smoothly without exposing rough edges or excess glue.
- Consistent alignment: Centred panels, even borders and accurately placed graphics make an economical box look considered.
For brands developing a tailored format, explore custom printed boxes after defining product dimensions, packing method and whether the box will be used for shelf display, postal fulfilment or gifting. These practical requirements should guide the design, not be added after artwork is approved.
Keep the outer box simple and the reveal special
Where budget is limited, avoid trying to make every exterior panel a feature. A restrained outer box can create anticipation, while a coloured tissue wrap, branded seal or gift tag provides the more memorable reveal inside.
This allocation also makes range extensions easier. You can keep one core box design for several products and vary the label, sticker colour or tag to identify each fragrance, flavour, collection or seasonal release.
Avoid false economy in box sizing
An unnecessarily large box raises board, printing, storage and transit costs. It may also require extra void fill and can undermine the premium effect. Measure the packed product, not just the product itself. Include any pouch, leaflet, protective wrap, cap, accessory or assembled component that will be inside the final gift pack.
Before placing an order, check:
- The internal dimensions accommodate the fully packed product.
- The box is practical for staff to assemble consistently.
- The closure remains secure once filled.
- Any internal insert still fits after allowing for material thickness.
- Barcodes, product information and mandatory statements have a defined place where relevant.
Using Custom Inserts for a Premium Feel
An insert transforms a box from a container into a presentation piece. It prevents the product moving around, guides the opening sequence and signals that the pack was designed for the item rather than selected from a generic size range.
The insert does not have to be elaborate. A folded card platform, die-cut card cradle or simple divider may be sufficient. The right choice depends on the product shape, weight and number of items included.
| Insert option | Best suited to | Premium benefit | Points to check |
|---|---|---|---|
| Die-cut card insert | Small bottles, jars, boxed items and accessories | Holds the item in a defined position | Test removal, finger access and fit tolerance |
| Folded platform | Products that need elevation or a layered reveal | Adds depth without a complex moulded part | Confirm it does not collapse under weight |
| Divider | Gift sets with two or more items | Creates order and reduces item-to-item contact | Allow for variations in product dimensions |
| Wrap or belly band | Soft goods, stationery and flat products | Adds a controlled presentation layer | It offers limited impact protection |
| Paper cushioning | Irregular shapes and delicate objects | Gives a crafted, abundant opening experience | Avoid excessive material that obscures the product |
Card-based inserts often support a cohesive paper-led presentation and can be printed, colour-matched or left plain depending on the design direction. However, the insert should not scrape delicate finishes, mark soft coatings or make the item difficult to remove. Always test it with production-representative products, including any variation in component size.
For e-commerce gift packs, distinguish between a presentation insert and transit protection. An insert can hold a product in place, but it may not provide sufficient protection against impacts or compression during delivery. If the gift box will travel inside an outer shipping pack, plan both layers together.
Use contrast with purpose
A dark outer box with a pale insert, or a pale box with a deep-coloured internal tray, can create a high-end reveal without adding another print treatment. Use contrast only where it supports the brand and makes the product easier to see. The interior should frame the item, not compete with it.
Elevating Simple Designs with a Gold Foil Sticker
A gold foil sticker is one of the most flexible ways to introduce a luxury cue without covering the whole box in foil. It can act as a seal, carry a monogram, identify a limited gift set or close tissue paper neatly.
The effect depends less on the word “gold” and more on contrast, size and application. A small foil sticker on a matte, dark or subtly textured surface can look elegant. A large, highly reflective label placed over crowded artwork can look promotional rather than premium.
Use a foil sticker when you want to:
- Seal tissue paper or a belly band.
- Add a logo to a plain box or unprinted sleeve.
- Distinguish a gifting range from standard retail packaging.
- Mark a short-run collection without redesigning the entire carton.
- Introduce a metallic accent where direct foil stamping would not be cost-effective.
The label face stock, adhesive, foil colour and shape should be considered together. A circular label is versatile and easy to centre, while a custom silhouette can become a recognisable brand element. Check that the adhesive is suitable for the actual box surface. Labels can behave differently on coated, uncoated, textured or recycled-content papers, particularly where dust, moisture or surface treatments are involved.
A metallic finish does not have to be gold. Warm copper, muted silver, champagne and coloured metallic effects may better suit your visual identity. The aim is a coherent accent, not simply the shiniest option.
Browse custom stickers and labels when comparing shapes, materials and branding uses. Supply artwork with enough clear space around fine lines and small lettering, as intricate designs may lose clarity at small label sizes.
Choosing the Right Box Closure: Ribbon or Magnetic?
The closure changes both the opening ritual and the practical performance of the pack. Ribbon and magnetic formats can feel premium, but neither is automatically the right choice.
| Closure approach | Strengths | Limitations | Suitable uses |
|---|---|---|---|
| Ribbon tie | Tactile, decorative and suitable for occasion-led gifting | Requires tying, can add assembly time and may snag | Seasonal gifts, keepsake packs and boutique presentation |
| Magnetic flap | Clean opening action and a substantial presentation | Usually needs a compatible box construction and accurate assembly | Higher-value sets, reusable boxes and curated collections |
| Tuck flap | Cost-conscious, compact and straightforward to assemble | Less ceremonial than ribbon or magnetic options | Everyday gifting, retail cartons and lighter products |
| Sleeve | Creates a layered reveal and can hold a lid closed | Must fit consistently; can be less convenient to reopen | Premium cartons, product sets and brand-led launches |
| Sticker seal | Low-material and flexible, with an attractive reveal | Often single-use and dependent on surface compatibility | Tissue wraps, sleeves and simple gift boxes |
Choose ribbon when the physical act of untying supports the gift experience and your packing process can accommodate it. Select magnetic closure when reusability and a structured opening are central to the concept. For many brands, a tuck box with tissue and a foil seal delivers a similarly considered result with fewer components.
Think about how the recipient will open the pack. If a closure is too tight, easy to tear or unclear to use, the experience can feel less premium. If it will be used in retail, consider whether customers may repeatedly handle the sample pack and whether the closure will remain neat.
Design Principles Used in Premium Gift Packaging
Premium packaging is usually quieter, clearer and more consistent than value-led packaging. This does not mean every design must be minimalist. It means each choice should have a purpose.
Establish a visual hierarchy
The recipient should immediately understand what matters. Usually that is the brand, product name and, where appropriate, the gifting occasion or collection. Build the artwork so the eye moves naturally through this information rather than giving every element equal emphasis.
A useful hierarchy might be:
- Brand mark or name.
- Product or collection name.
- Key descriptor, such as scent, flavour, material or edition.
- Supporting details and legally required information, where applicable.
Avoid shrinking important information just to make room for decoration. If the front panel becomes crowded, move secondary copy to another panel, an insert card or a product label where appropriate.
Limit the palette and typefaces
Use colours that reproduce reliably across the planned materials. A single deep brand colour paired with a neutral board, for example, can look more sophisticated than several competing shades. If colour matching is important, confirm the print approach and assess physical proofs or samples where available.
Similarly, limit typefaces. One characterful display face and one highly readable supporting face are often enough. Small type, fine reversed-out lettering and very thin lines need particular care because their appearance can vary by material and print process.
Make tactile choices selectively
Texture can communicate quality before the box is opened. Uncoated paper, a soft-touch surface, an embossed mark or a carefully chosen ribbon can provide tactile interest. Yet every extra process introduces cost, lead-time and production variables.
A practical approach is to select one hero tactile element:
- A textured box board;
- A foil sticker;
- A raised or debossed logo;
- A quality ribbon;
- A distinctive paper gift tag.
Combining several effects can work for a special edition, but it should be a deliberate choice backed by a clear margin and pack purpose.
Design for real-world handling
Packaging artwork is not viewed only on a screen. It is folded, packed, stacked, photographed and handled. Keep critical copy away from folds, glue areas, cut-outs and closure points. Ask for the dieline and use it accurately; do not treat it as an afterthought.
Where the packaging holds regulated or product-specific information, verify the current UK requirements that apply to your category. The placement and content requirements can differ by product, sales channel and claims made. Build sufficient space into the design rather than relying on an additional label at the last stage.
The Role of Tissue Paper and Gift Tags
Tissue paper and gift tags create a sense of ceremony at a relatively modest material cost. They are most effective when they have a job to do: wrapping the product, concealing the reveal, protecting a finish or providing personalisation.
Tissue can be plain, patterned or lightly branded. Plain tissue in a signature colour often looks more refined than a densely printed sheet, especially for smaller boxes. Consider opacity as well as colour. Very thin tissue may show the product too clearly or tear during packing, while overly bulky wrapping can make a compact box difficult to close.
Gift tags can add warmth and flexibility. They are useful for:
- Handwritten recipient messages.
- “To” and “from” fields for seasonal ranges.
- Care notes or product stories.
- Short collection details that you do not want printed permanently on the box.
- A small brand mark that ties together a plain box and tissue wrap.
Keep the tag proportionate. An oversized tag can dominate a small premium box, while one that is too small can feel like an afterthought. Also check the practical details: hole position, string length, knot style and whether the tag can rub against the product.
For packs developed specifically for gifting, custom gift packaging can help frame the options around the opening sequence, closure and internal presentation rather than treating them as separate purchases.
Focus on Detail: Precision in Label Sticker Placement
Label placement is a small operational detail with an outsized effect on perceived quality. A beautifully printed label can look careless if it is off-centre, creased, applied over a fold or inconsistent from box to box.
Define the placement in the artwork and packing instructions. Use clear reference points, such as the top edge, a panel border or a printed registration mark, rather than asking packers to judge by eye.
Build a repeatable application method
For a sticker seal on a tissue wrap, specify the fold order and the exact overlap point before deciding where the sticker sits. For a front-of-box logo label, state both the horizontal and vertical position. If the label is meant to bridge a sleeve and carton, test it during normal opening: it may tear or leave adhesive residue in a way that is unsuitable for the customer experience.
Check these details during a sample review:
- Labels are centred and level.
- Corners adhere cleanly without lifting.
- The sticker does not cross a crease unless intentionally designed to do so.
- Foil, text and logos face the correct orientation.
- The adhesive does not damage the box when removed, if the label is intended to be removable.
- Variable details, such as batch references or gift names, are readable and correctly positioned.
Do not overlook environmental conditions. Dusty stock, cold storage areas, humid packing rooms and high-touch surfaces can affect label application and adhesion. Confirm the intended storage and use conditions with your packaging supplier if they are relevant to the product.
How to Price Your Premium Gift Packaging
Price premium gift packaging as a system, not as a box price alone. The lowest unit cost may create higher costs elsewhere through slow assembly, added protective material, damaged presentation or a design that cannot be reused across a product range.
Start by listing every component:
- Outer box or carton.
- Insert, divider or wrap.
- Tissue paper.
- Sticker, seal or label.
- Ribbon, tag or belly band.
- Product leaflet or message card.
- Outer transit packaging, where needed.
- Assembly labour, storage and wastage allowance.
Then compare options using the same assumptions: quantity, number of artwork versions, print colours, material choice, finishing, assembly requirements and whether components are supplied flat or pre-assembled. A quote is difficult to evaluate if one option includes an insert and another does not.
Match spend to what customers will notice
Spend more where the recipient interacts with the pack: the opening, the product fit, the front-facing brand detail and the interior reveal. Save where the customer is unlikely to see a difference, provided protection and usability are not compromised.
For example, you may choose a simple one-colour outer carton and direct budget towards a well-fitting insert plus a metallic seal. Alternatively, a premium paper stock may carry the design without any foil, ribbon or additional label.
Reduce complexity before reducing quality
If the initial concept exceeds budget, simplify it in this order:
- Remove redundant decorative elements.
- Consolidate colours or artwork versions.
- Use a standardised box size across compatible products.
- Replace complex inserts with folded card structures where suitable.
- Reserve special finishes for the most visible panel or a removable label.
- Review whether ribbon, tags and seals all add distinct value.
Do not remove necessary product protection, essential information or usability features solely to lower cost. A gift box that arrives damaged, opens poorly or cannot hold its contents securely is not a premium experience, however attractive the artwork may be.
FAQ
Can ordinary paper boxes look luxurious?
Yes. A simple paper box can look luxurious when its proportions, material, print layout and finishing details work together. Precise construction, uncluttered artwork and a well-fitted insert generally matter more than adding numerous expensive effects.
Is a gold foil sticker cheaper than foil printed directly on the box?
It can be a practical alternative, particularly when you need flexible branding, smaller design changes or a decorative seal. The overall cost depends on order quantity, label size, shape, material, application method and the box design. Compare the complete packaging system rather than assuming one method will always cost less.
Should gift boxes include an insert?
Use an insert if it improves product protection, presentation or organisation. A compact, stable product may only need tissue wrap, while a fragile item or multi-product set can benefit greatly from a fitted card insert or divider.
What should be checked before approving luxury gift packaging?
Review physical samples for fit, opening, closure, print legibility, label adhesion, insert performance and packing practicality. Confirm material specifications, artwork files, component quantities, assembly responsibilities and any category-specific UK labelling or compliance requirements that apply to the product.
A practical next step is to create a one-page packaging brief with product dimensions, desired opening sequence, target quantity, essential information and two or three non-negotiable design features. You can then use it to compare XGolden Print’s packaging options or any supplier proposal on a like-for-like basis.
