
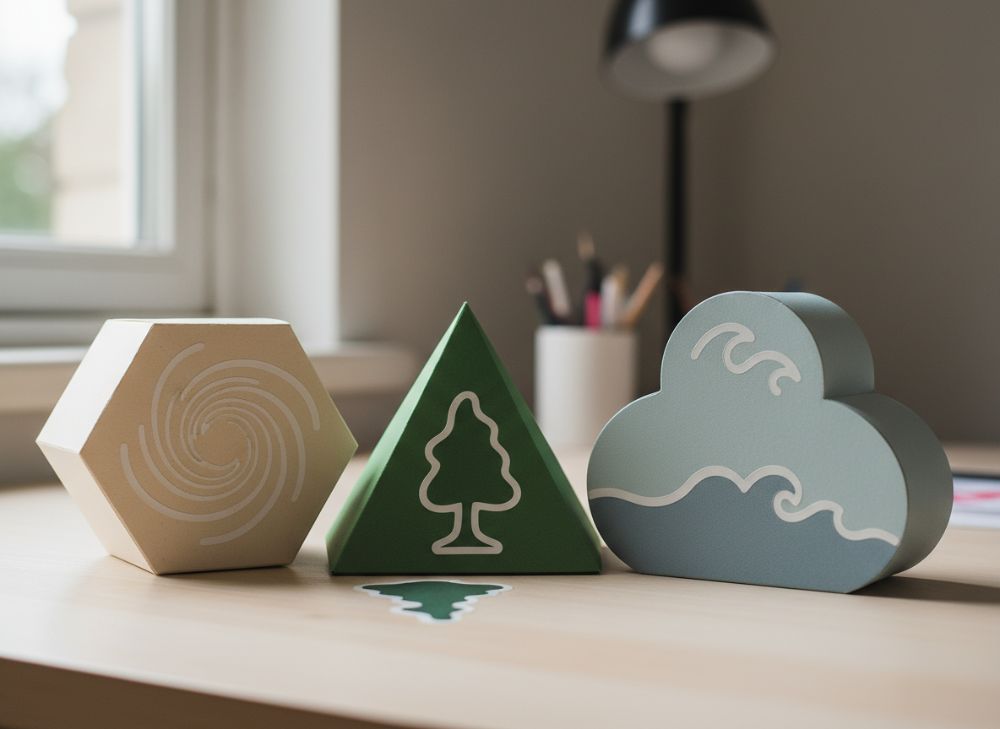
Die-cut packaging gives brands a practical way to move beyond the standard rectangle without making the pack difficult to produce or use. A shaped carton, curved sleeve or custom label can reinforce a product’s character, create a better fit and make important information easier to notice.
The best results come from treating shape as part of the packaging system, not as decoration added at the end. For beyond rectangles: innovative die-cut paper box and sticker shapes, start with the product dimensions, packing method, opening experience, print constraints and intended retail or postal journey. Then choose a structure that adds value while remaining efficient to cut, fold, apply and recycle where appropriate.
The Impact of Non-Traditional Box Structures
Non-traditional box structures help a product look considered before the customer has read a word of copy. Rounded panels may soften the appearance of a wellness product; an angular sleeve can suit a technical accessory; a handle integrated into a gift box can make it easier to carry without a separate bag.
A distinctive outline is particularly useful when several similar products are displayed together. It creates recognition through silhouette as well as colour and branding. However, the shape should serve a clear purpose, such as:
- holding an unusually shaped item securely;
- creating a clear opening or reveal;
- separating components within a pack;
- providing a hanging, carrying or display feature;
- reducing unused space around the product;
- supporting the personality of a limited-edition or gift range.
Common structural options include:
| Structure | Best suited to | Main consideration |
|---|---|---|
| Curved-edge carton | Cosmetics, confectionery, small gifts | Curves need adequate panel space for copy and barcodes |
| Pillow box | Lightweight gifts, accessories, promotional items | Check whether the product needs extra protection |
| Hexagonal or polygonal box | Candles, bottles, speciality food gifts | More panels can increase folding and assembly complexity |
| Die-cut sleeve | Boxes, jars, folded garments and bundled products | Ensure the sleeve grips securely without damaging the product |
| Windowed carton | Products where visibility aids purchase | Window placement can affect strength and available print area |
| Handle box | Takeaway gifts, event packs and retail sets | Test the handle with the intended product weight |
| Pop-up display carton | Launches, direct mail and counter presentation | Requires careful folding instructions and user-friendly assembly |
A shape that looks appealing in a flat visual can be less effective if it catches during packing, collapses in storage or conceals essential product details. Ask early whether the structure can be supplied flat, how it will be erected, and whether it needs an insert, adhesive closure or tamper-evident feature.
For products that need more robust presentation, explore custom packaging boxes alongside the outer shape. The board choice, closure and internal fit matter as much as the outline.
Cost Considerations for Custom Die-Cutting
Custom die-cutting usually involves more planning than a simple rectangular carton, but complexity—not unusual shape alone—is what most affects cost. A well-designed custom outline may be commercially sensible when it uses material efficiently and avoids unnecessary hand finishing.
Factors to confirm with a printer or packaging supplier include:
- Die-line complexity: More cuts, internal apertures, tabs and intricate details can make a die more complex.
- Order quantity: Fixed set-up work is spread over more units at higher volumes, although the right quantity depends on your storage and stock requirements.
- Material choice: Board thickness, coatings, laminations and adhesive-backed sticker materials can affect cutting performance.
- Number of finishing steps: Foil, embossing, spot effects, window films and hand assembly may add further operations.
- Assembly requirements: A pack that needs several manual folds, glue points or applied components may cost more than a self-locking alternative.
- Waste allowance: Shapes with deep curves, narrow projections or large internal cut-outs can leave more unused material between units.
- Packing and transport: A bulky, pre-assembled structure can require more space than a flat-packed carton.
Avoid treating a custom shape as an all-or-nothing decision. Often, one targeted detail produces the desired distinction: a shaped top edge, a thumb notch, a die-cut reveal panel, or a label that follows the product’s contour. This can be more practical than redesigning every side of the box.
Before approving a design, request clarity on which elements drive cost. That makes it easier to compare a simplified option against a more elaborate one without losing the key visual idea. Confirm quotation assumptions, including material, dimensions, finishing, assembly state and whether cutting tools are included or charged separately.
Designing Product-Specific Paper Box Shapes
A product-specific box should protect, present and explain the item. The starting point is not the outer silhouette; it is the product and the way someone removes it.
Measure the product accurately, including caps, cords, attachments, protective wraps and acceptable movement within the pack. If it is fragile, assess whether an internal insert, divider or cradle is required. A close-fitting box without suitable internal support can still allow damage if the product shifts.
Match the structure to how the product is used
Consider the first few moments after opening:
- Does the customer need to lift the product from the top, slide it out, or pull a tab?
- Should the pack be reclosable?
- Does the product need to remain visible after opening?
- Will the box be used for storage or display after purchase?
- Is there a component, leaflet, accessory or refill that needs its own place?
For example, a box for a set of small items may benefit from a tray-and-sleeve format with internal divisions. A fragrance gift may suit a carton with a shaped window, provided the window does not compromise the panels needed for product information. A folded garment may need a wide, shallow pack that protects the fold and opens cleanly.
Protect functional areas of the artwork
A die-line creates areas that are unsuitable for vital content. Avoid positioning fine text, QR codes, barcodes, legal copy, ingredient panels or instructions too close to:
- fold lines and score lines;
- cuts and notches;
- glue flaps;
- windows and apertures;
- curved edges;
- handles and tear features.
Keep critical artwork within a clearly defined safe area. Your printer can confirm the tolerance and bleed requirements for the chosen process and material. This is especially important for small boxes, where a striking shape can quickly reduce usable panel space.
Do not over-engineer the shape
Very narrow points, fragile tabs and tightly detailed contours can be vulnerable in handling. They may also be harder to assemble consistently. Simplify decorative cut-outs where possible, increase the width of structural tabs and make folds intuitive. A buyer should not need instructions to understand which end opens or where to hold the pack.
If the packaging carries regulated information or product-specific claims, verify the required content, placement and legibility for the intended UK market before finalising the die-line.
Using Kiss-Cut Stickers for Unique Shapes
Kiss-cut stickers offer an accessible route into shaped branding. In kiss-cut production, the top sticker material is cut to shape while the backing sheet remains intact. This means the sticker can have a custom contour but stay easy to handle, store and apply.
They work well for:
- product seals and closure labels;
- logo stickers for mailers or tissue paper;
- shaped promotions or seasonal campaigns;
- individual product labels;
- sticker sheets with multiple designs;
- branded inserts and giveaway items.
A kiss-cut sticker can be circular, oval, arched, scalloped or formed around a simple illustration or logo. Compared with a standard rectangular label, the edge itself becomes part of the design.
For more unusual contours, avoid extremely fine points, tiny detached details and narrow bridges between sections. These can make peeling less straightforward and can be more prone to lifting after application. Also consider the surface: labels may behave differently on smooth coated cartons, textured paper, curved jars, flexible pouches or chilled products.
A custom sticker printing option should be specified with the application in mind. Confirm the sticker material, adhesive, finish, size, backing format and whether labels will be applied by hand or by machine. If the label is used as a seal, check that its adhesive and size suit the opening method rather than assuming every sticker material will perform the same way.
Maximising Material Use with Efficient Nesting
Nesting is the arrangement of multiple die-lines across a printed sheet or board. Efficient nesting can reduce unnecessary offcuts and support better use of the selected material. It should be considered during structural design, not only after the artwork is complete.
A shape may look efficient individually but create awkward gaps when repeated. This can happen with widely spaced protrusions, dramatic curves or a large amount of empty space within the outline. In contrast, some angled and interlocking shapes can sit closer together on a sheet.
Practical ways to improve nesting
- Keep outer contours purposeful rather than adding decorative projections on every side.
- Use one standout shaped feature instead of several unrelated cut-outs.
- Consider whether an internal cut-out could become a useful tag, sample card or secondary element, if appropriate.
- Review alternative orientations of the box blank.
- Avoid large windows unless product visibility clearly justifies them.
- Coordinate box and insert shapes so they work efficiently as a set.
- Ask to compare two structurally similar options before committing to the most intricate outline.
Efficient nesting must be balanced against print direction, grain direction, folding strength and artwork layout. A layout that uses slightly less board may not be the best choice if it makes the carton weaker, disrupts a pattern or puts text upside down relative to the product.
Material efficiency is also about selecting an appropriate board grade and avoiding unnecessary layers. If recyclability or disposal instructions are important to the project, check the material combination, coatings, adhesives and any window component with the relevant supplier and for the intended market.
Pop-Up and Interactive Box Features
Interactive packaging can turn opening into part of the product experience. A pop-up element, pull tab, reveal panel or perforated message can be memorable when it supports the product story rather than delaying access to the item.
Useful interactive features include:
- Die-cut windows: Reveal colour, texture or a portion of the product.
- Pull tabs: Draw out an inner tray, message card or product compartment.
- Lift-up panels: Present instructions, a greeting or layered artwork.
- Pop-up shapes: Add a simple three-dimensional feature when the box is opened.
- Perforated sections: Allow a customer to detach a card, tag or reusable element.
- Peel-and-reveal labels: Conceal a code, message or secondary information panel.
The design needs to be understandable without excessive instructions. Make the opening point visible, give tabs enough grip, and ensure any perforation does not tear the main box unintentionally. If an element is intended to be retained, it should not interfere with the product’s protection once closed.
Interactive features are often particularly relevant to gift packaging, where the unboxing moment may be part of the purchase decision. Even so, the foundation remains practical: the pack must close securely, protect the contents and provide the required information.
How to Prepare Complex Die-Lines for Your Printer
A clean die-line reduces avoidable revisions and helps the printer assess whether the structure is practical. Never create a production die-line solely from a visual mock-up. A structural packaging specialist should supply or validate the final template for the chosen material and manufacturing method.
Prepare artwork using separate, clearly labelled layers. The exact naming convention varies, but a useful file commonly distinguishes:
- cut lines;
- crease or score lines;
- perforation lines;
- glue areas;
- artwork;
- varnish, foil or other finishing areas;
- white ink or special colour layers where applicable;
- notes for windows, inserts or applied components.
Artwork checklist before release
- Use the approved die-line at actual size. Do not scale it after artwork has been placed.
- Add bleed beyond all cut edges. Confirm the required amount for the job.
- Keep essential content in the safe area. This includes small text, codes and key product information.
- Check fold direction. Artwork, patterns and readable copy should align correctly once the box is assembled.
- Mark glue zones clearly. Do not place essential copy or finishes where adhesive will sit.
- Outline or package fonts and link images correctly. Follow the printer’s preferred file format and pre-flight requirements.
- Review barcodes and QR codes at final size. Leave sufficient clear space around them and verify suitability before production.
- Request a structural sample or proof where appropriate. Use it to inspect fit, opening, panel order and artwork placement.
A three-dimensional mock-up is helpful, but it does not replace checking the real folded structure. Assemble a sample around the actual product wherever possible. Look for collision between flaps, loose movement, obstructed windows, hidden instructions and difficult access points.
Examples of Creative Box and Label Pairings
The most coherent packaging uses box and label shapes together. They do not need to match exactly; they need to feel intentional and be practical at the point of application.
Arched carton with a matching seal label
An arched top panel makes a small gift or personal-care carton feel softer than a conventional square top. A matching arched kiss-cut seal can close tissue paper or add a branded finishing detail. Keep the seal large enough to remove cleanly and avoid placing it over essential copy.
Hexagonal box with a circular lid label
A hexagonal carton can complement cylindrical products or a product with a crafted, speciality positioning. A circular label on the top provides a calm contrast to the angular side panels and can carry a logo or variant name. Check that the carton remains stable when stacked or displayed.
Sleeve with a shaped thumb notch and contour label
A rectangular tray remains efficient and easy to pack, while a sleeve with a curved thumb notch adds usability. Pair it with a contour-cut label that highlights a flavour, colour or collection name. This approach keeps the structure controlled while adding character in selected areas.
Windowed box with a product-shaped sticker
A simple window can show the product, while a die-cut sticker echoes a recognisable product feature such as a leaf, tool, bottle or emblem. This is useful where the sticker also provides a closure or promotional message. Ensure the window and label do not compete for the same visual space.
Gift box with a detachable message tag
A lidded gift box can include a perforated, die-cut tag as part of the outer artwork. The recipient can remove and retain it, giving the feature a purpose beyond decoration. Check that removing the tag does not weaken the box or reveal an unfinished edge.
Choosing the Right Level of Customisation
Use custom die-cut packaging when the shape improves fit, handling, shelf recognition or gifting value. A standard rectangular structure with a shaped sticker or sleeve may be the better choice when speed of packing, compact storage and simple application matter most.
Before placing an order, shortlist two or three concepts and compare them against the same questions:
- Does the shape make the product easier to protect, open or present?
- Is there enough room for all required content?
- Can the pack be assembled and applied consistently?
- Does the design use material sensibly?
- Are all finishes, labels and components compatible?
- Has the physical structure been reviewed with the actual product?
- Have market-specific packaging and labelling requirements been checked?
For a project that needs a tailored structure, XGolden Print offers custom packaging and print solutions; its company background may help when assessing a potential supplier. Bring a product sample, accurate dimensions, intended artwork and a clear description of how the packaging will be packed, displayed and opened. That information will help turn an inventive die-cut idea into a workable box and sticker specification.
